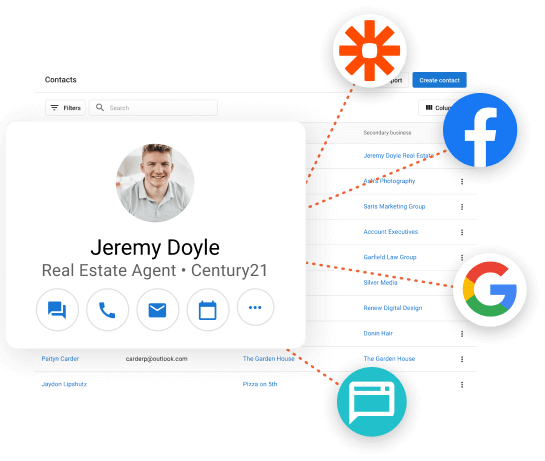
CRM with integrations
Centralize your business’s data and streamline workflows from many different systems by integrating them with Business App’s CRM and automations.
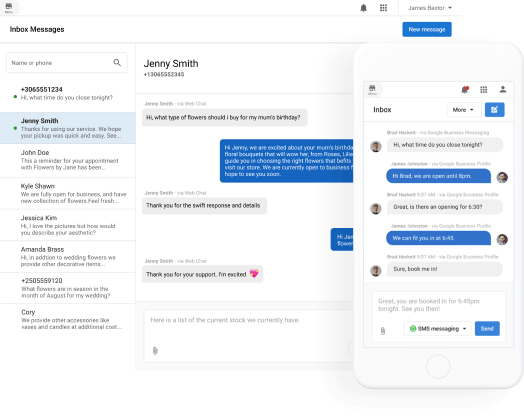
Inbox Messaging Hub
All communication in one place – instead of isolated on personal employee phones.
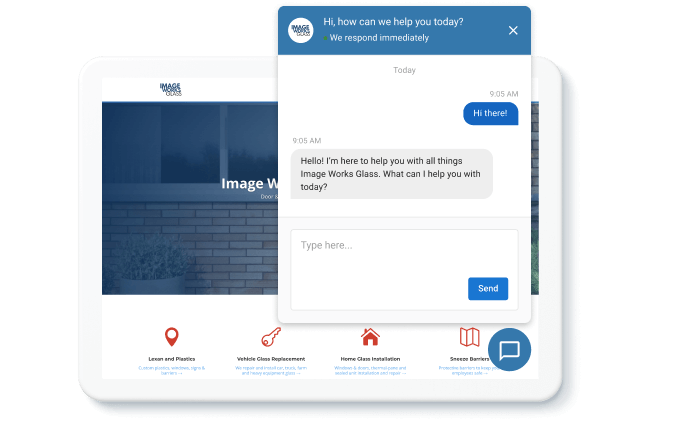
AI-Assisted Lead Capture
Never miss a lead again. Website visitors get an instant response by your helpful AI assistant, answering questions about your business and encouraging them to leave their contact info.