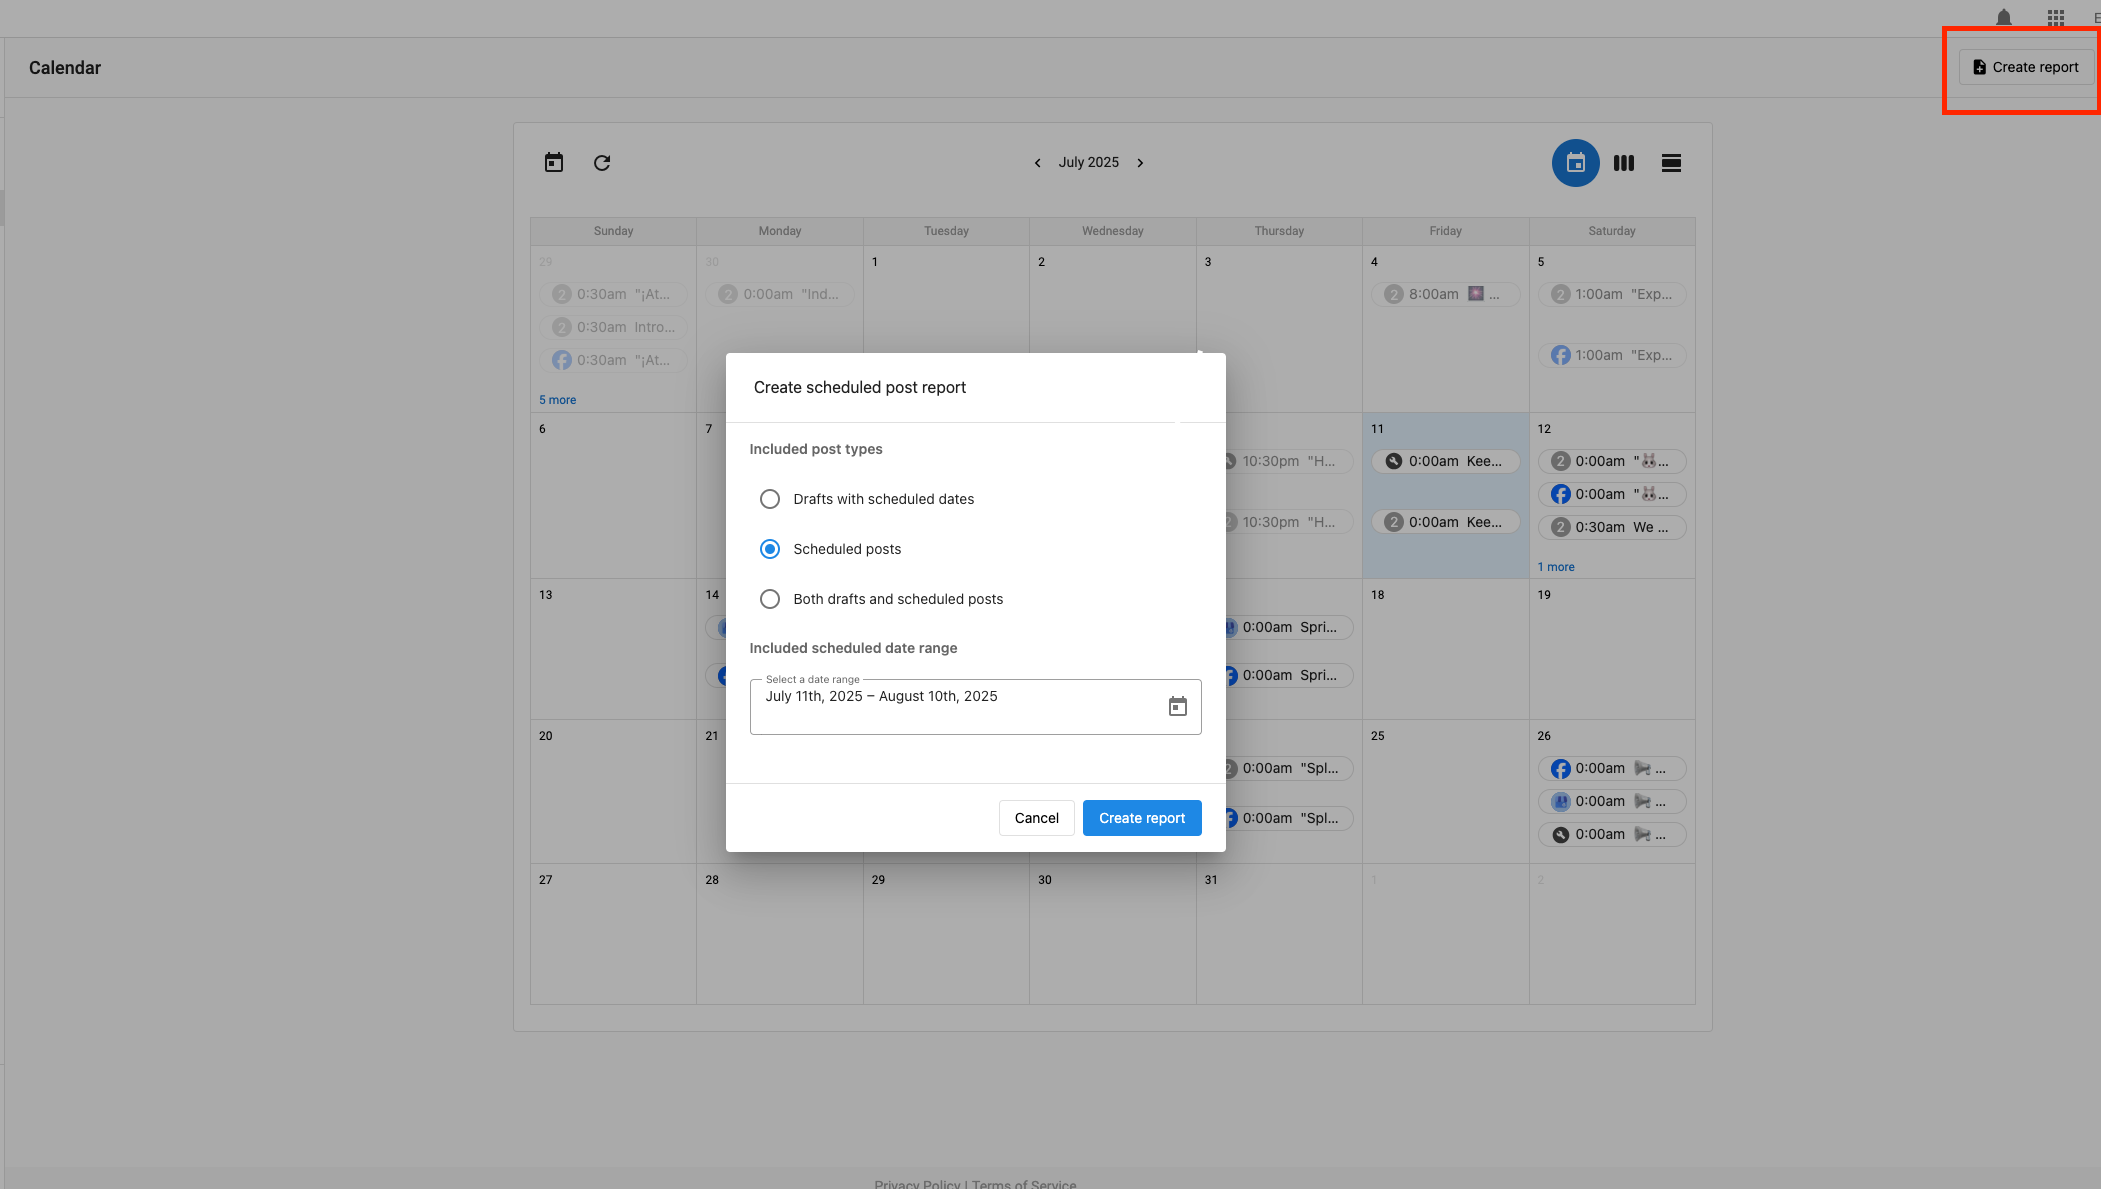
Creating a Post Report
Social Marketing allows you to create detailed reports of your posts to share with clients or team members.
Creating a Report
- Access Reports: Go to Social Marketing > Posts > Calendar, then click Create Report
- Select Date Range: Choose the time period for your report
- Choose Post Types: Select which types of posts to include (scheduled, drafts, or both)
- Generate Report: Click Create Report to generate your report
- Share Link: Copy the generated link to share with others
Report Features
- Comprehensive View: See all your scheduled posts in one place
- Date Range Selection: Customize the time period for your report
- Post Type Filtering: Include or exclude different types of posts
- Shareable Links: Generate links that can be shared with clients or team members
- Real-time Updates: Reports reflect current post status
Using Reports
- Client Approval: Share reports with clients for content approval
- Team Collaboration: Keep team members informed about scheduled content
- Content Review: Review all scheduled posts before they go live
- Planning: Use reports for content planning and strategy development
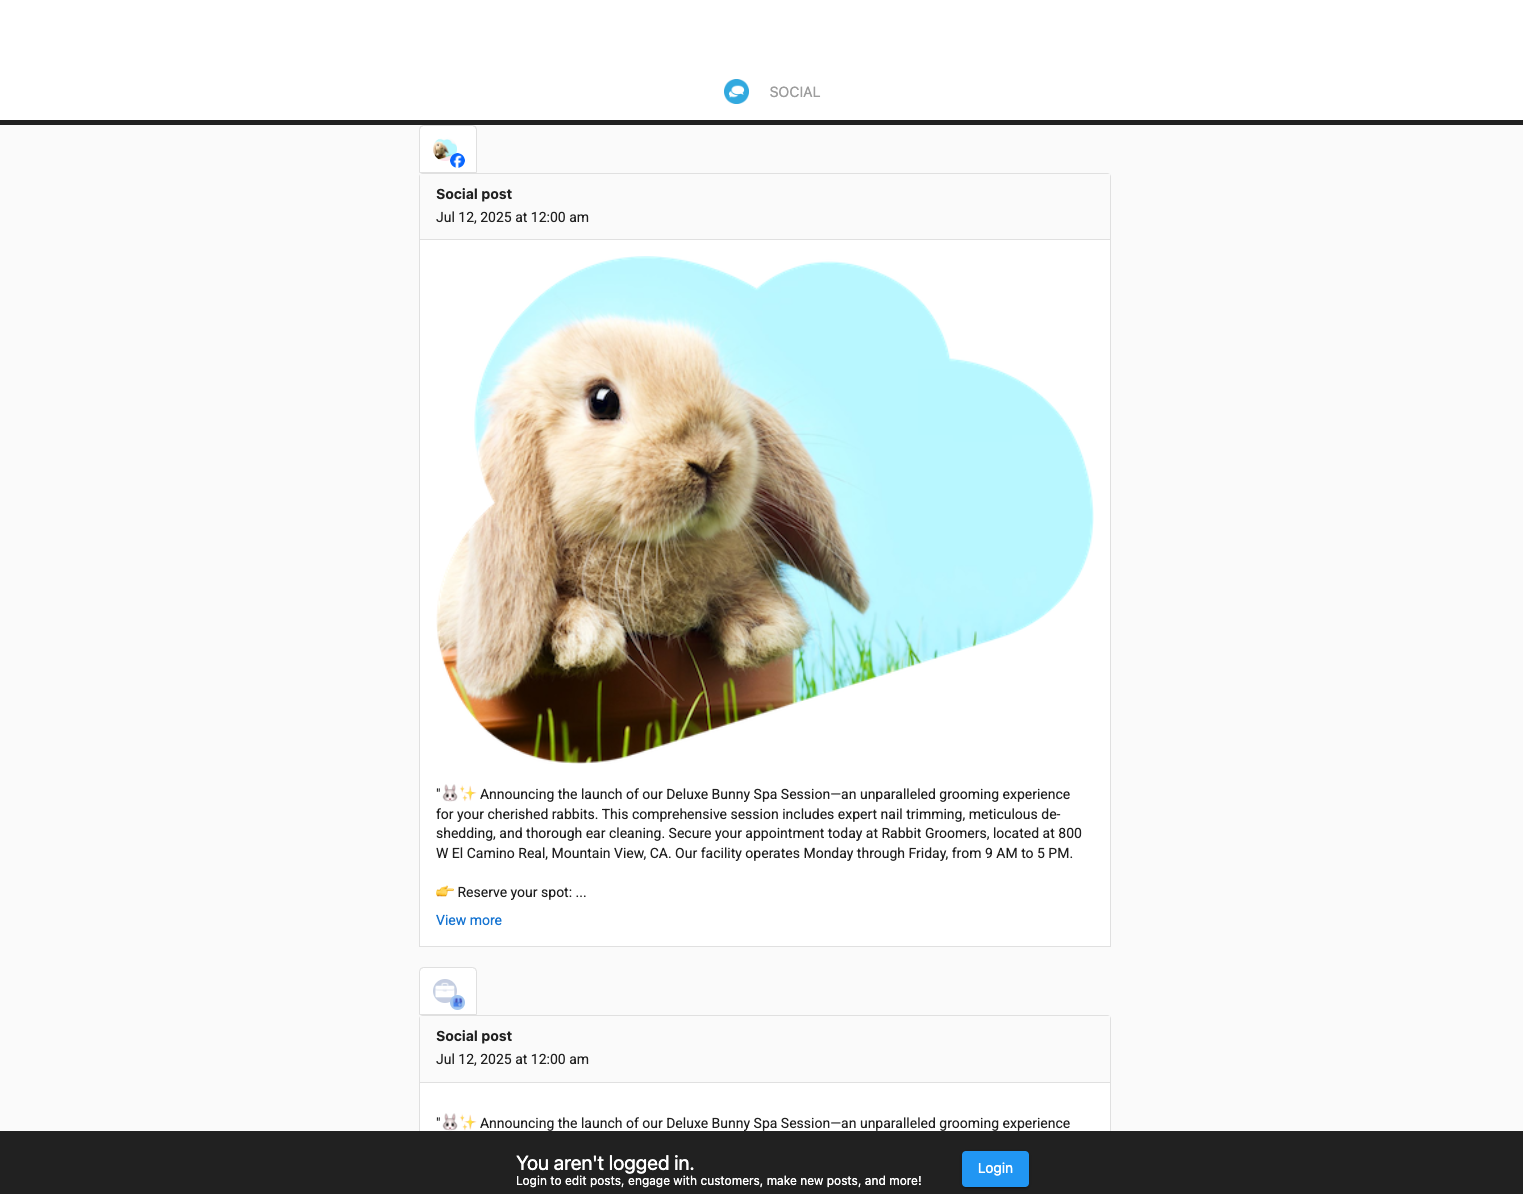
Report Access
Reports are accessible via generated links and can be viewed by anyone with the link, even if they don't have direct access to your Social Marketing account.
Note: Report links have expiration dates and access controls for security purposes.
Frequently Asked Questions
Can I password protect the report?
Currently, reports are secured via a generated unique link. While not password-protected in the traditional sense, the link is difficult to guess and serves as the access key.
Can clients edit the posts from the report view?
No, the report view is read-only. It is designed for reviewing scheduled content, not editing it. Any changes must be made within the Social Marketing account.