Getting Started
By the end of this guide, you'll have sent your first prompt and seen Vibe generate a working app in the live preview.
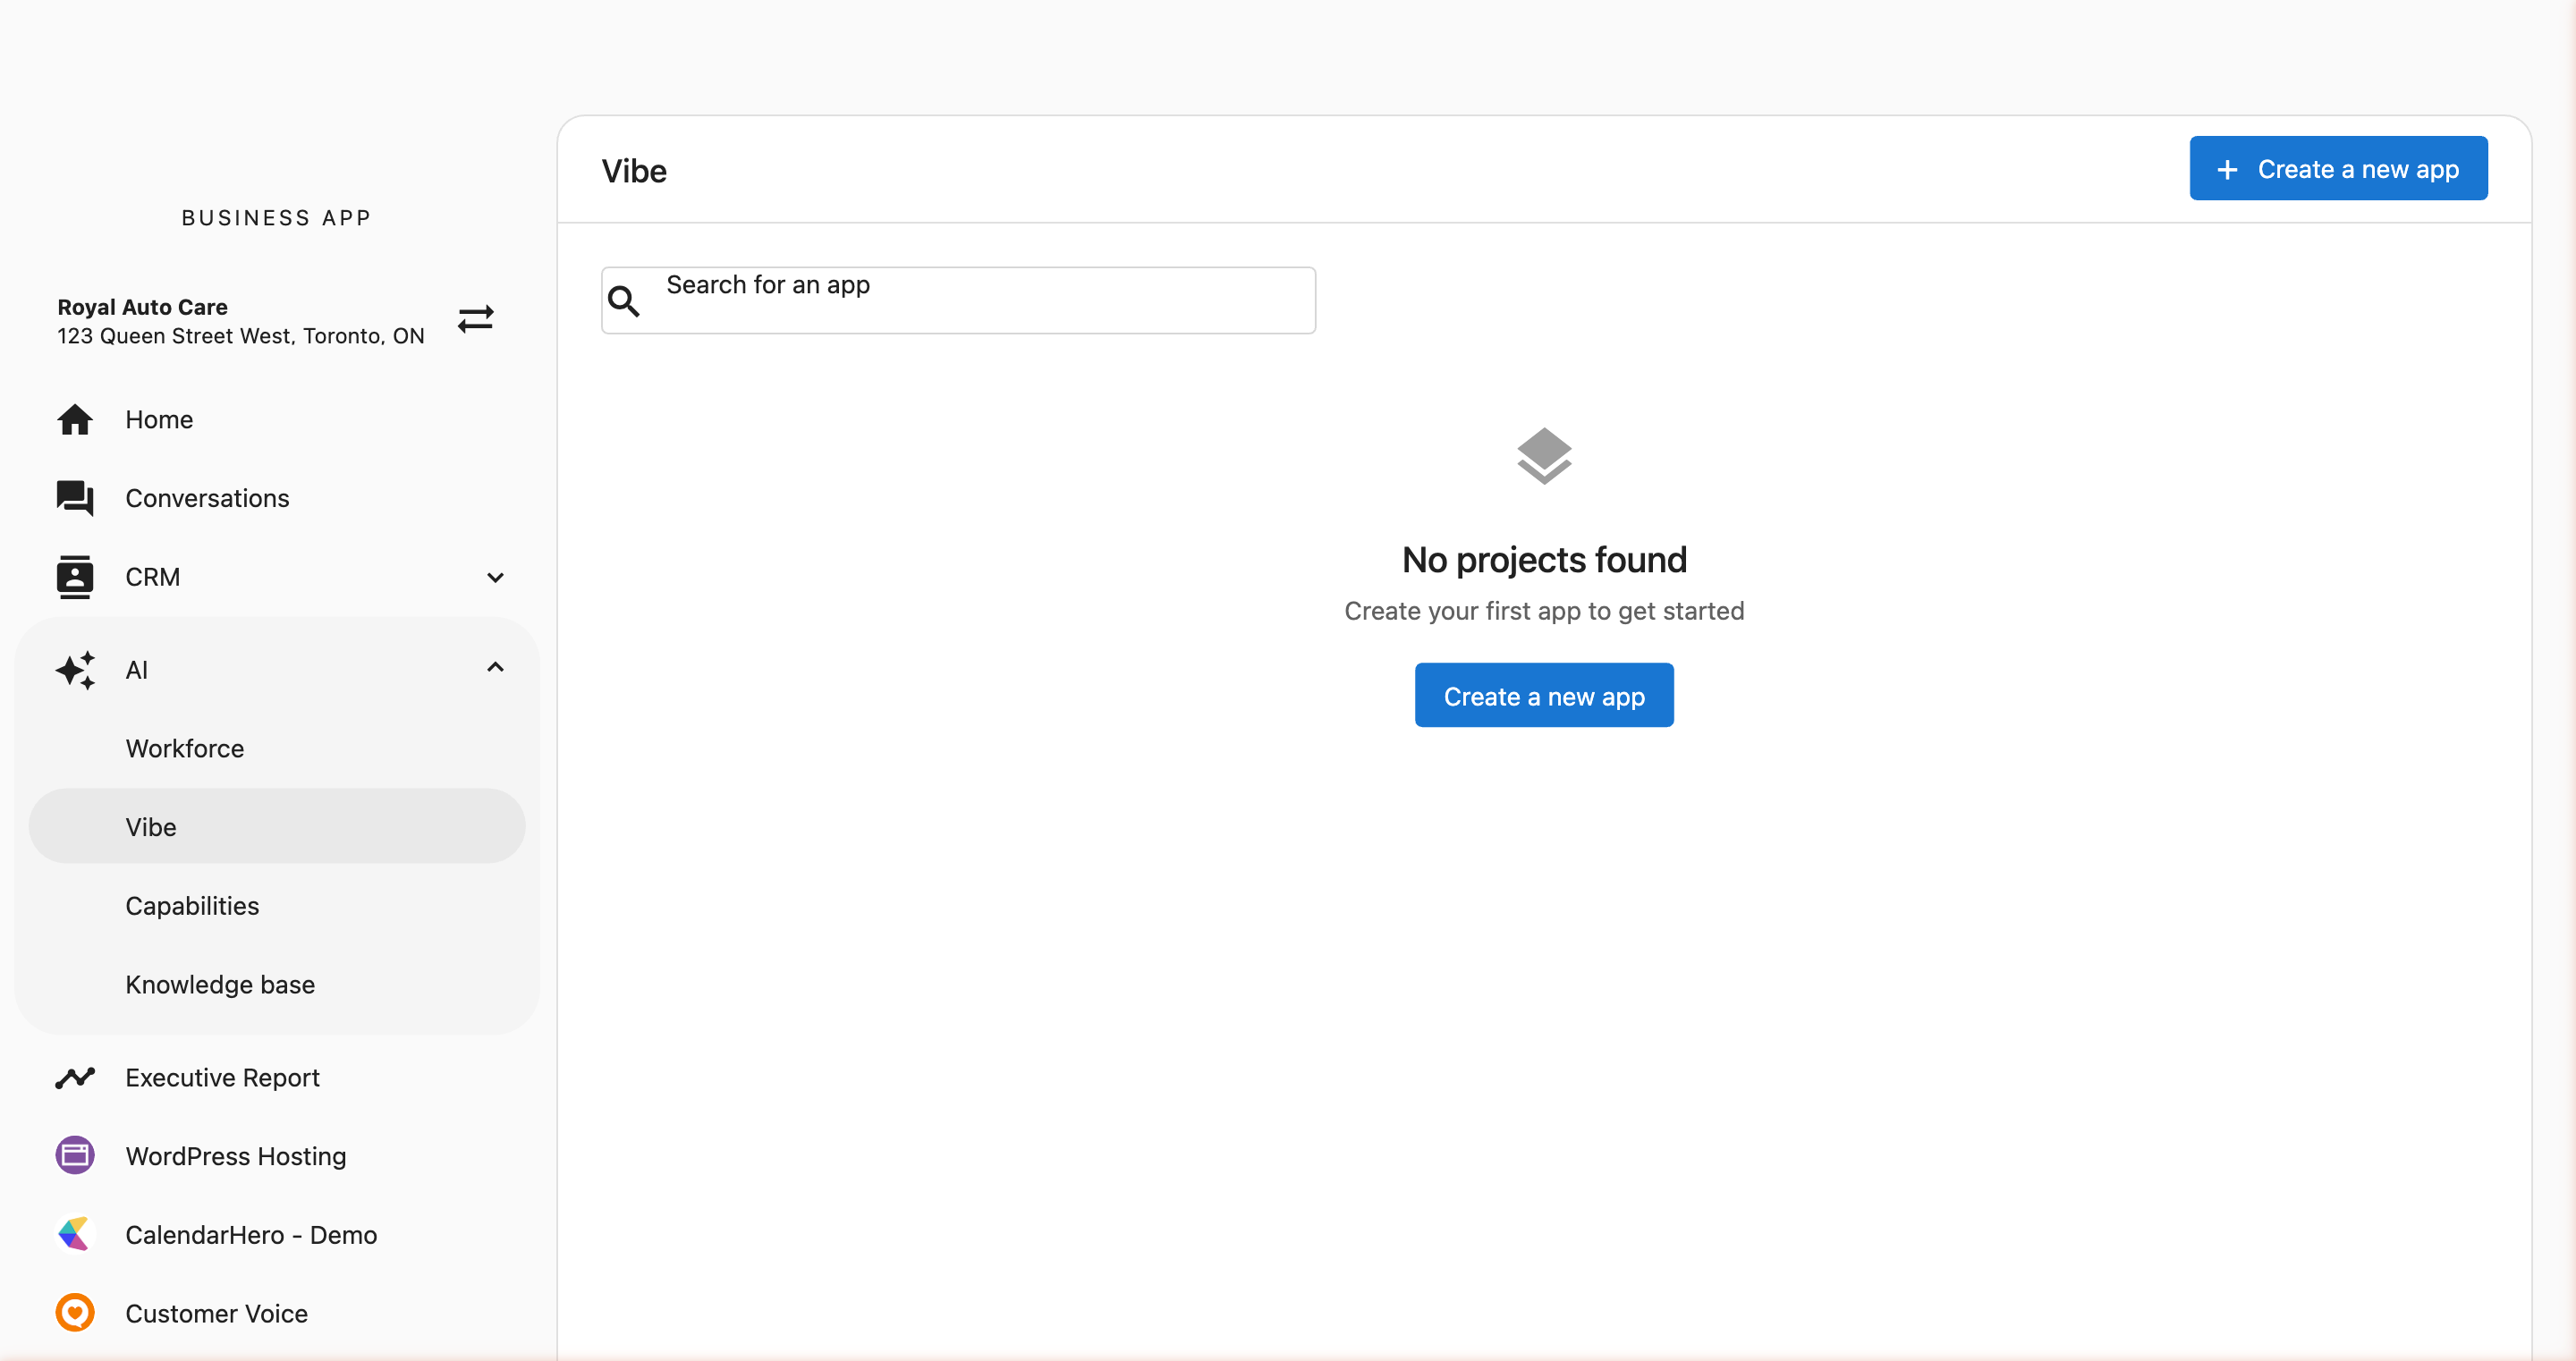
Step 1: Open Vibe in Business App
Vibe lives in Business App alongside your other AI tools.
- Sign in to Business App.
- From the location switcher, choose the location you want to build for.
- In the left sidebar, click AI.
- Click Vibe.
You see your Vibe project list. If this is your first time, the list is empty and invites you to create your first app.
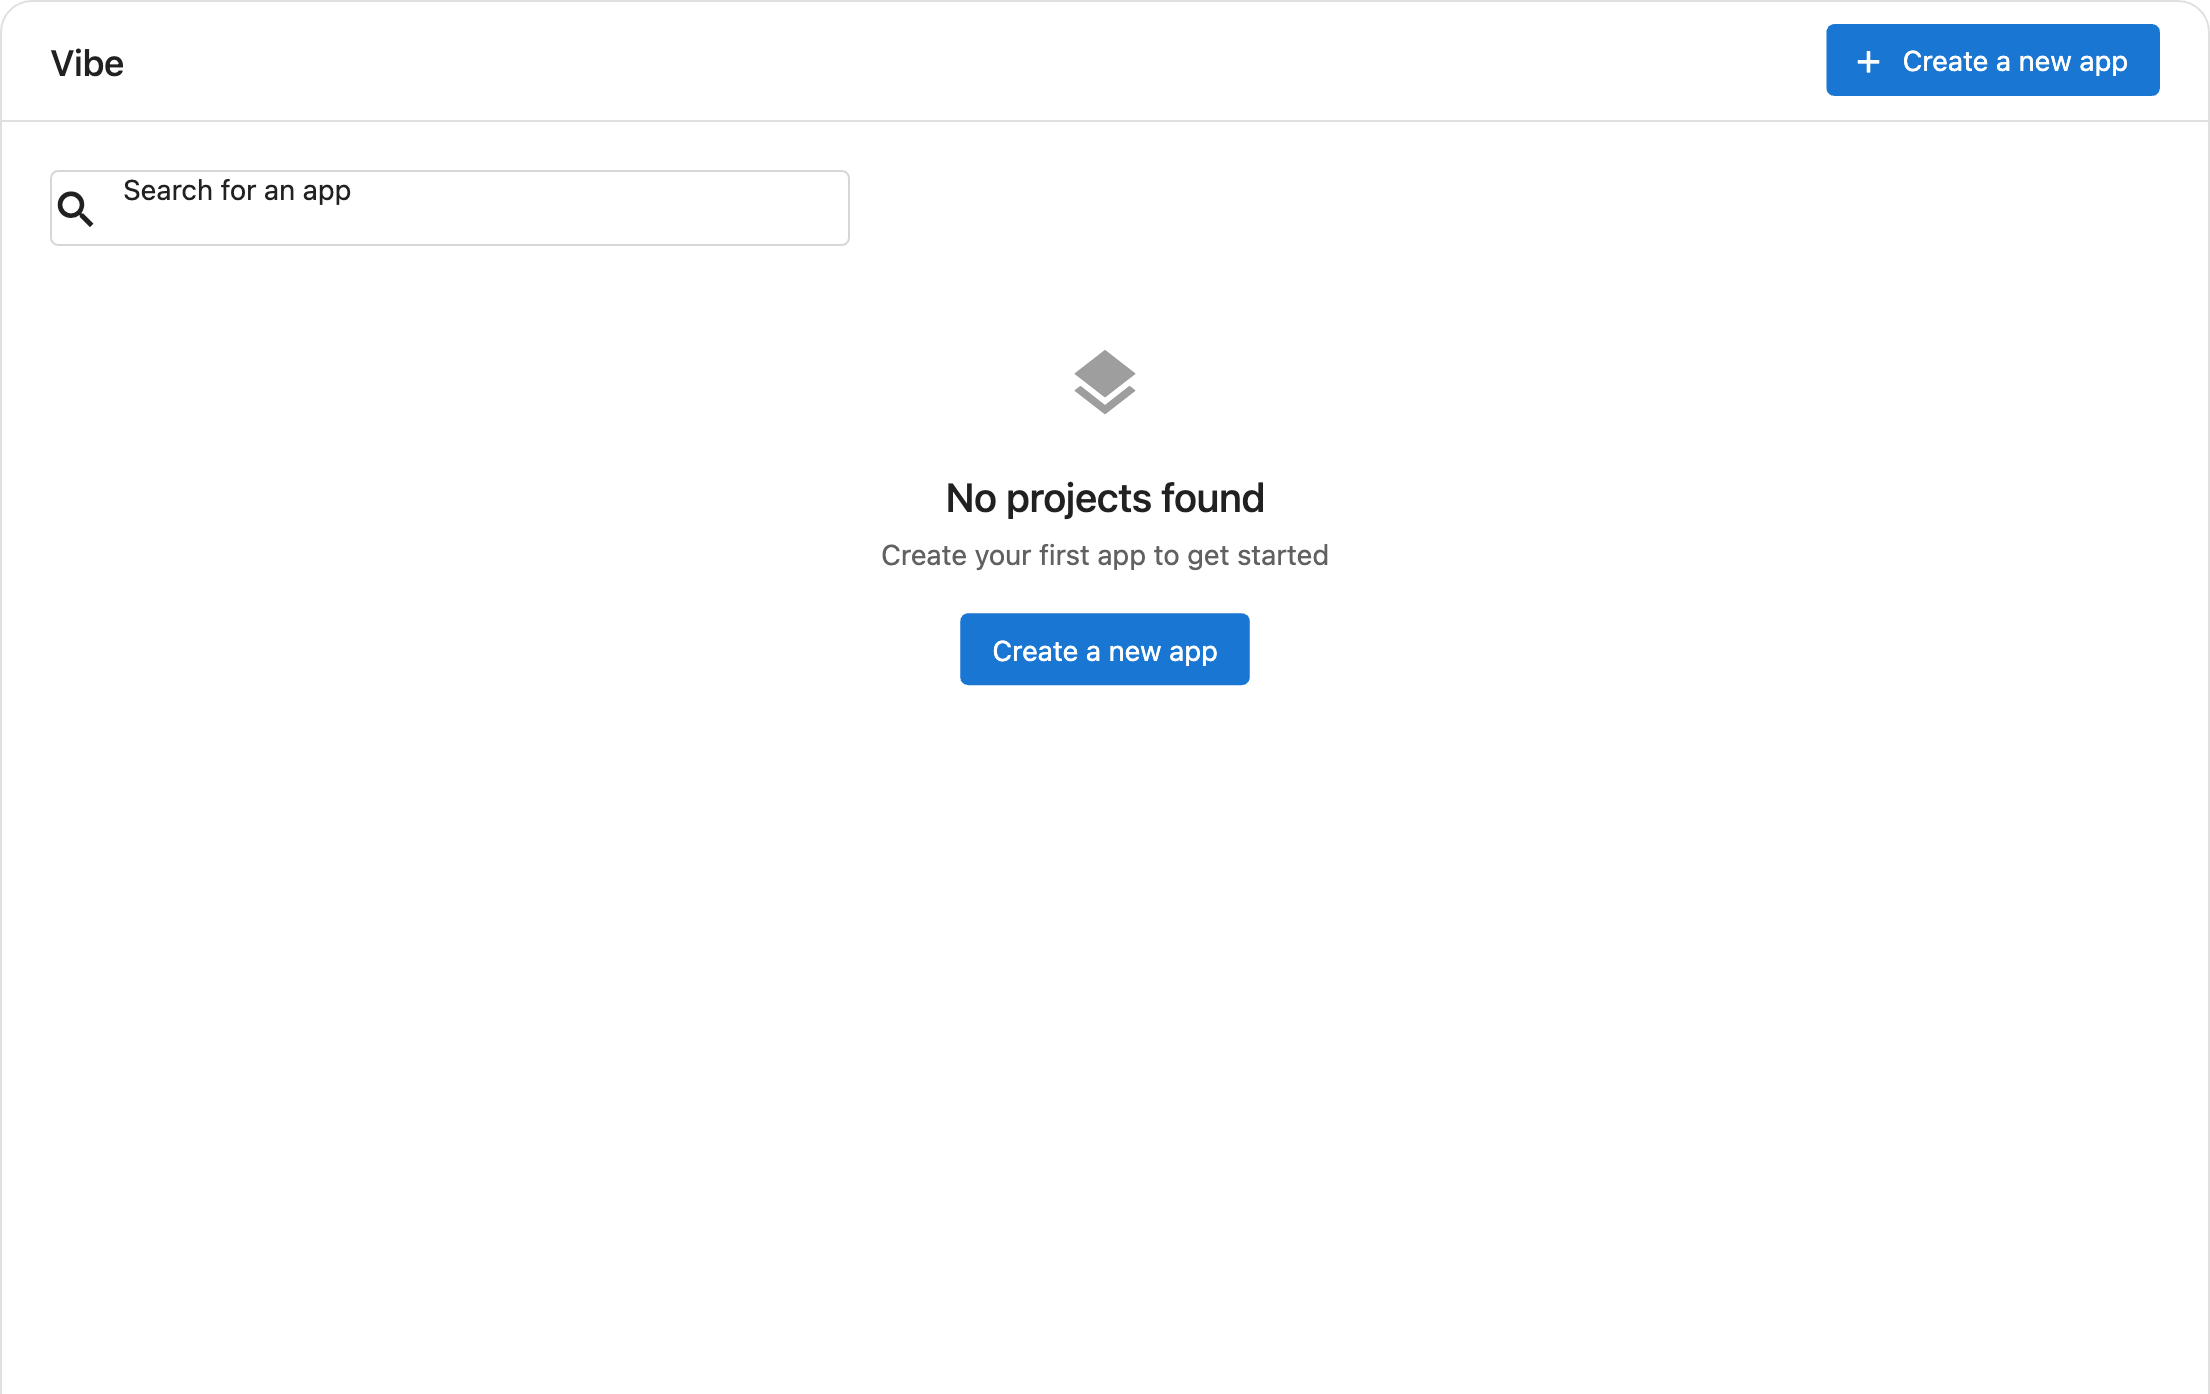
Step 2: Create a New Project
Once you're in Vibe, you'll see a project list. Each card shows a live preview thumbnail of the app you built. Click + Create a new app to create your first application.
Give your project a name and an optional description, then click Create.
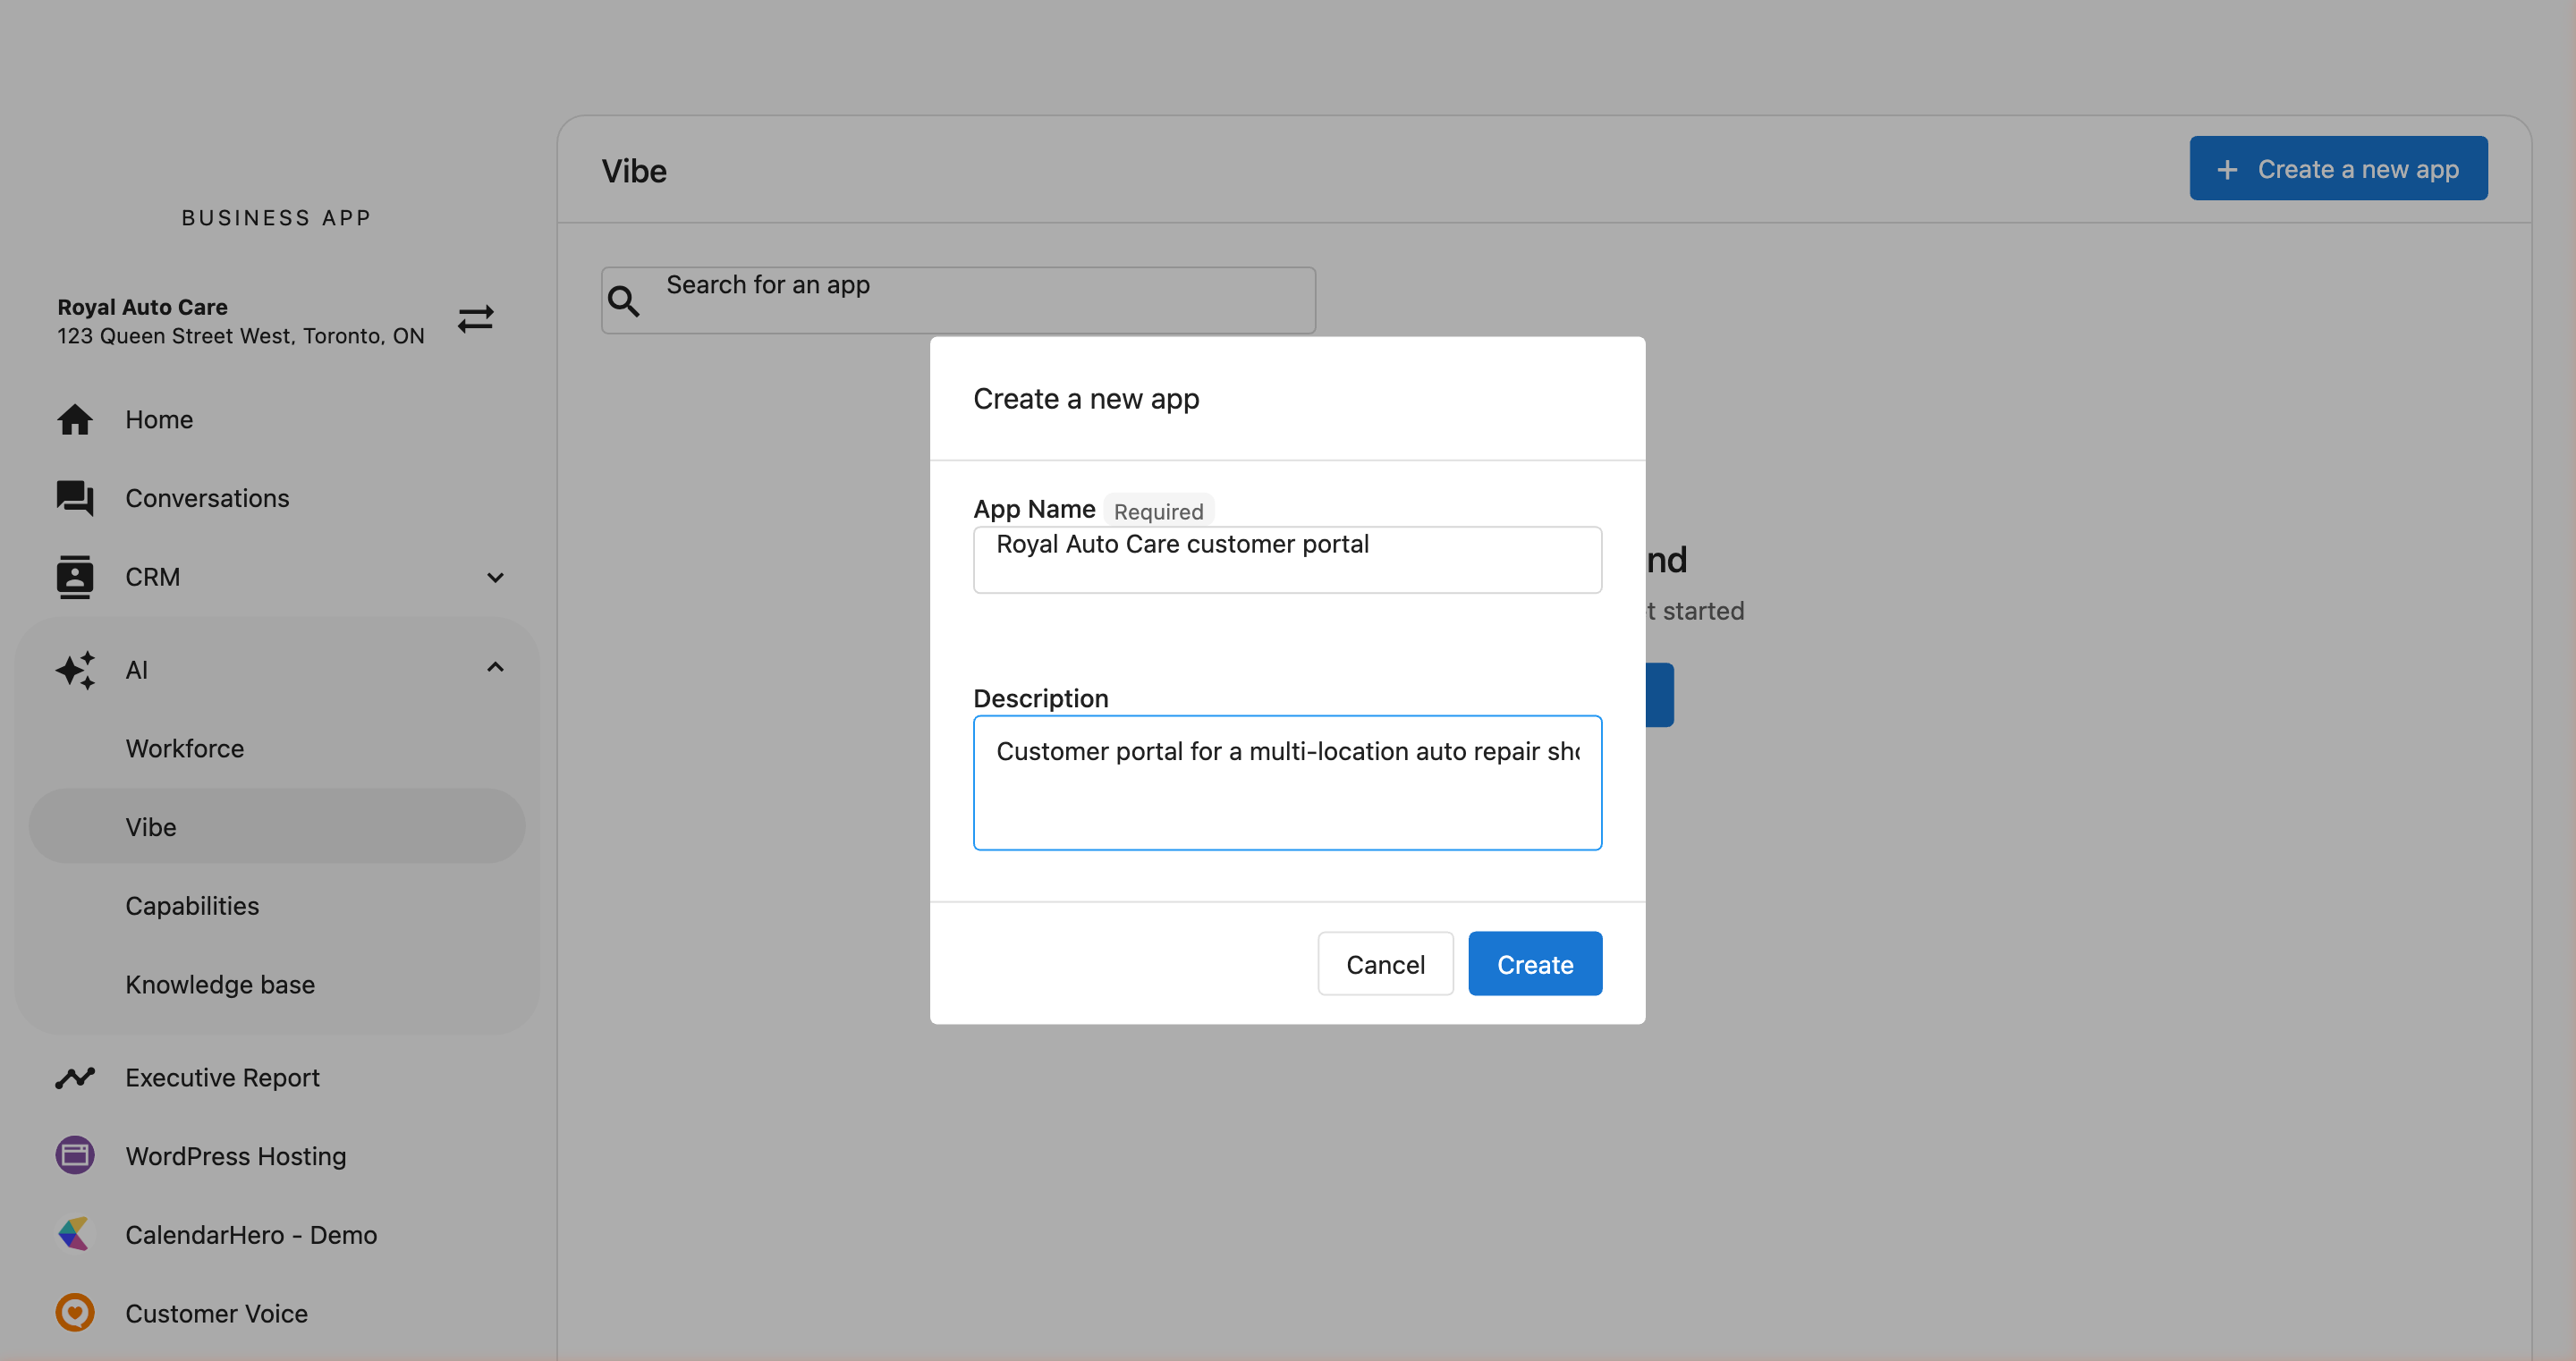
As soon as the project is created, Vibe loads the Business Profile for the selected location — name, services, hours, and contact details — into the project's knowledge base. Your prompts can draw on that information without you having to include it. See Business Knowledge to learn how to add more context.
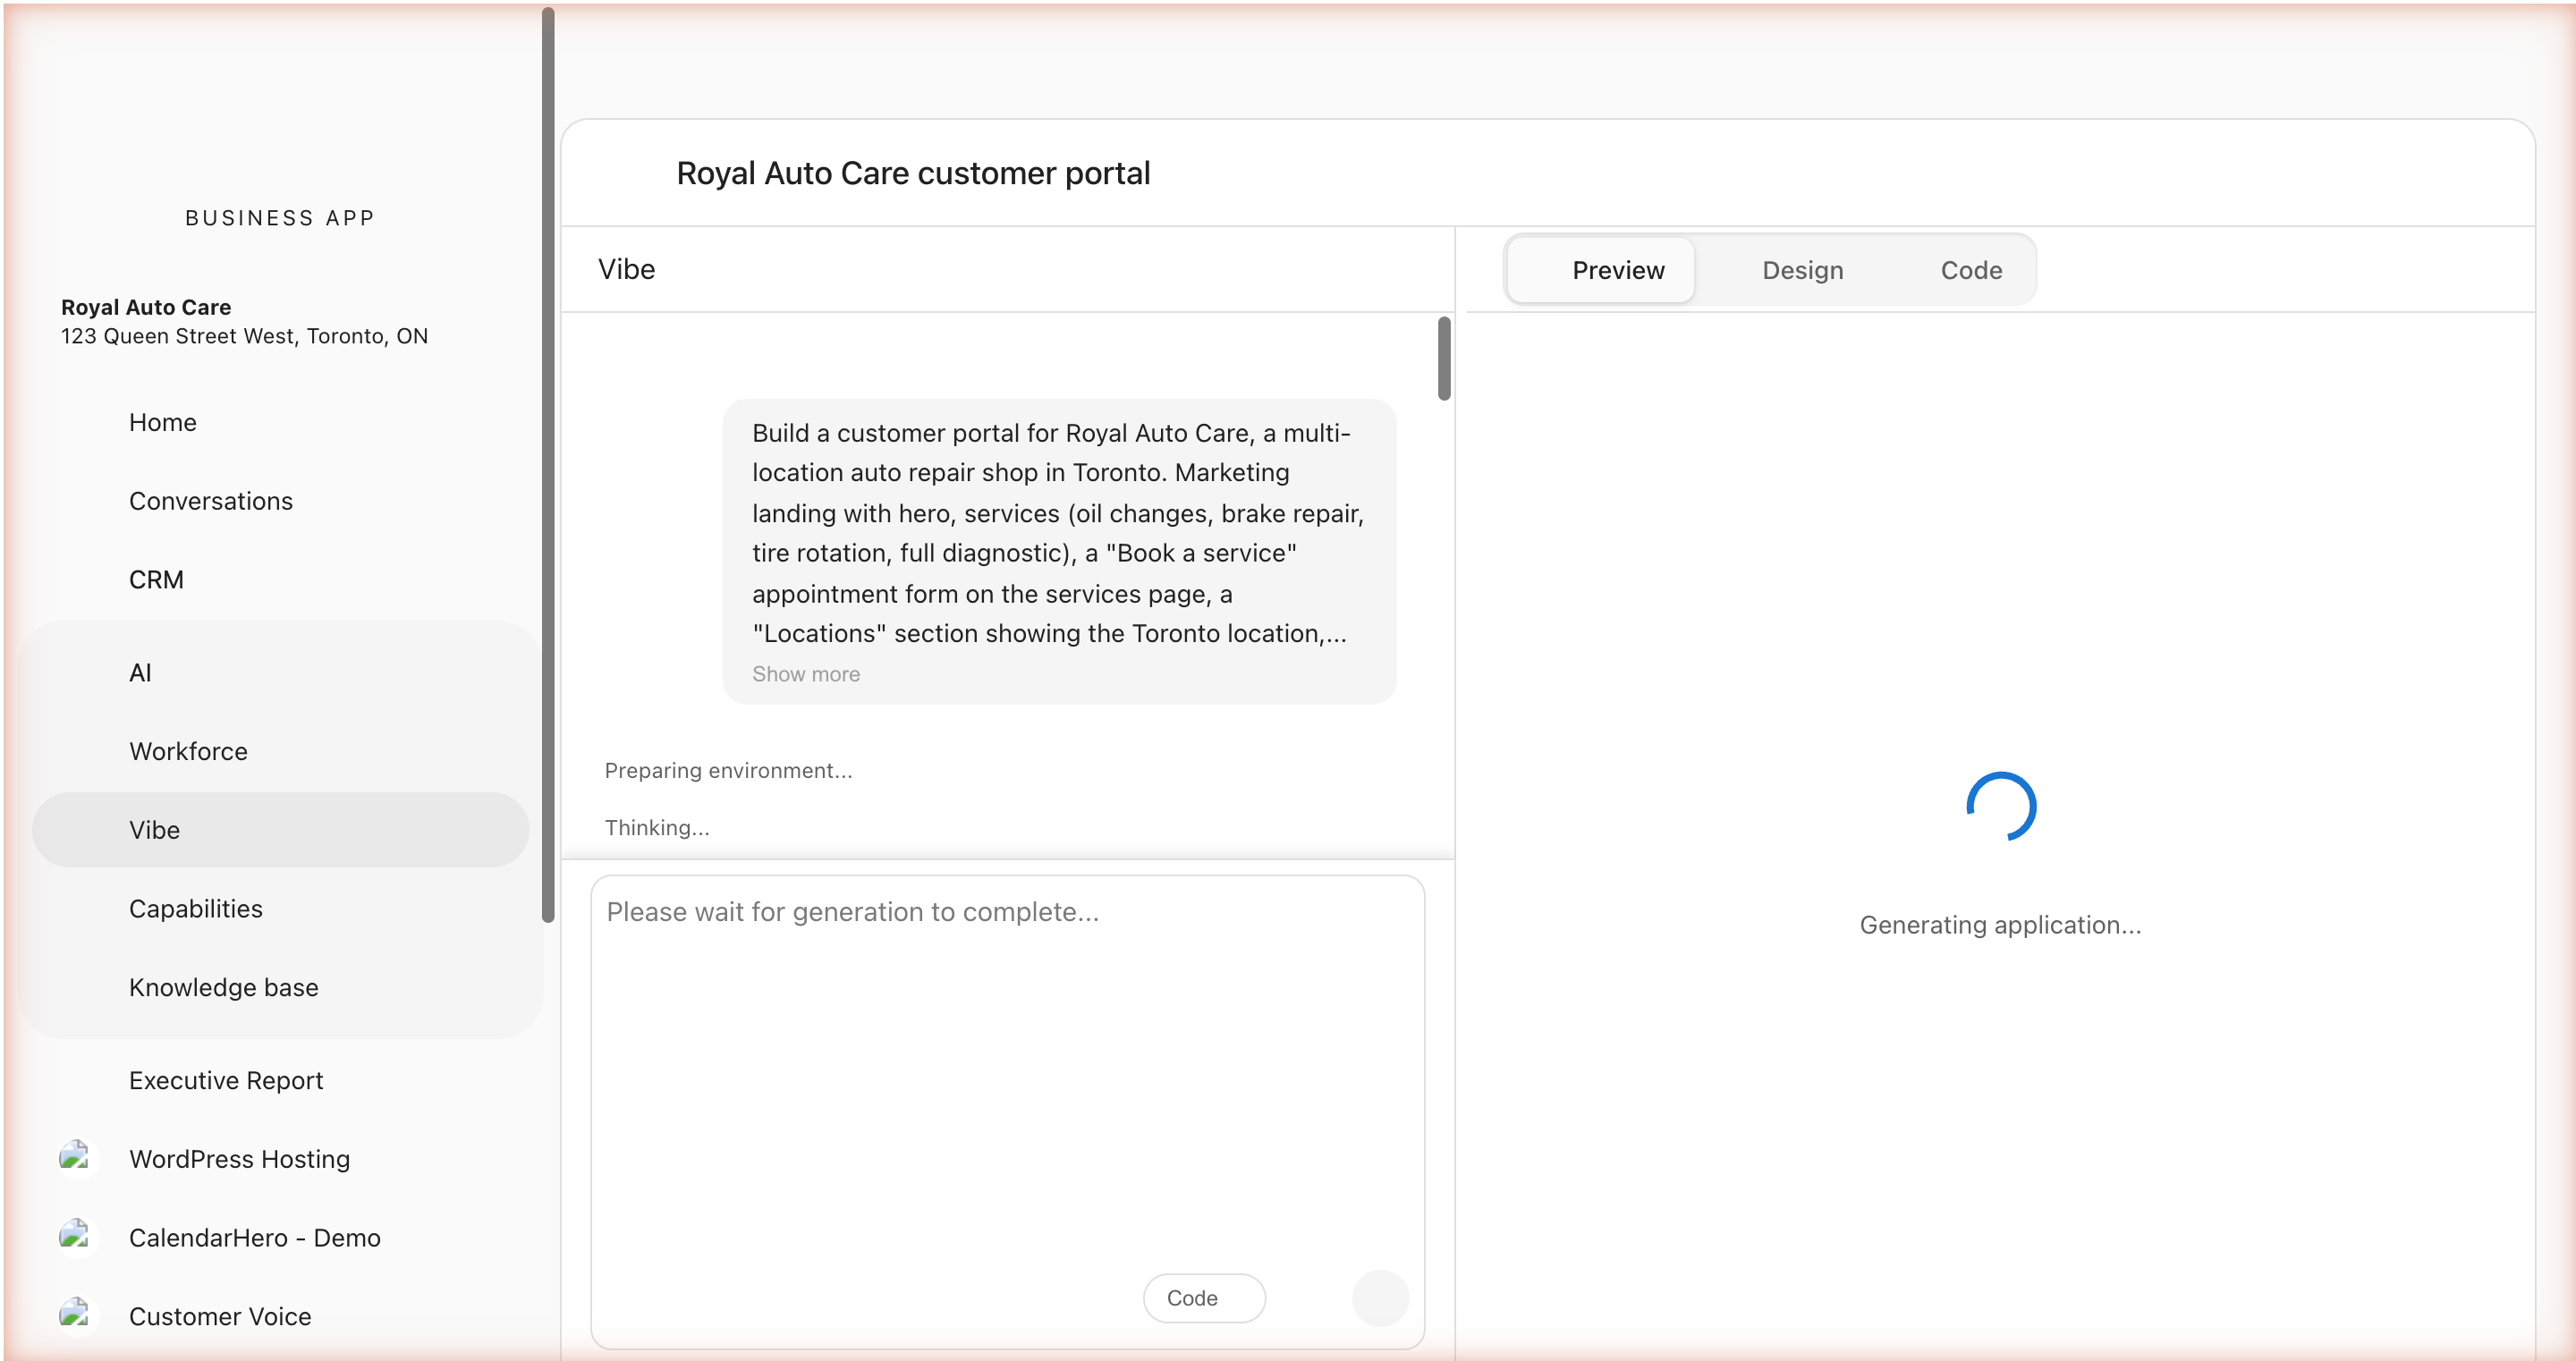
Step 3: Write Your First Prompt
After creating your project, you'll land in the Vibe editor. This is where you build your application through conversation.
The editor has three main areas:
- Chat Panel (left) — Where you describe what you want
- Preview (center) — A live preview of your application
- Mode Tabs (top) — Switch between Preview, Design, and Code views
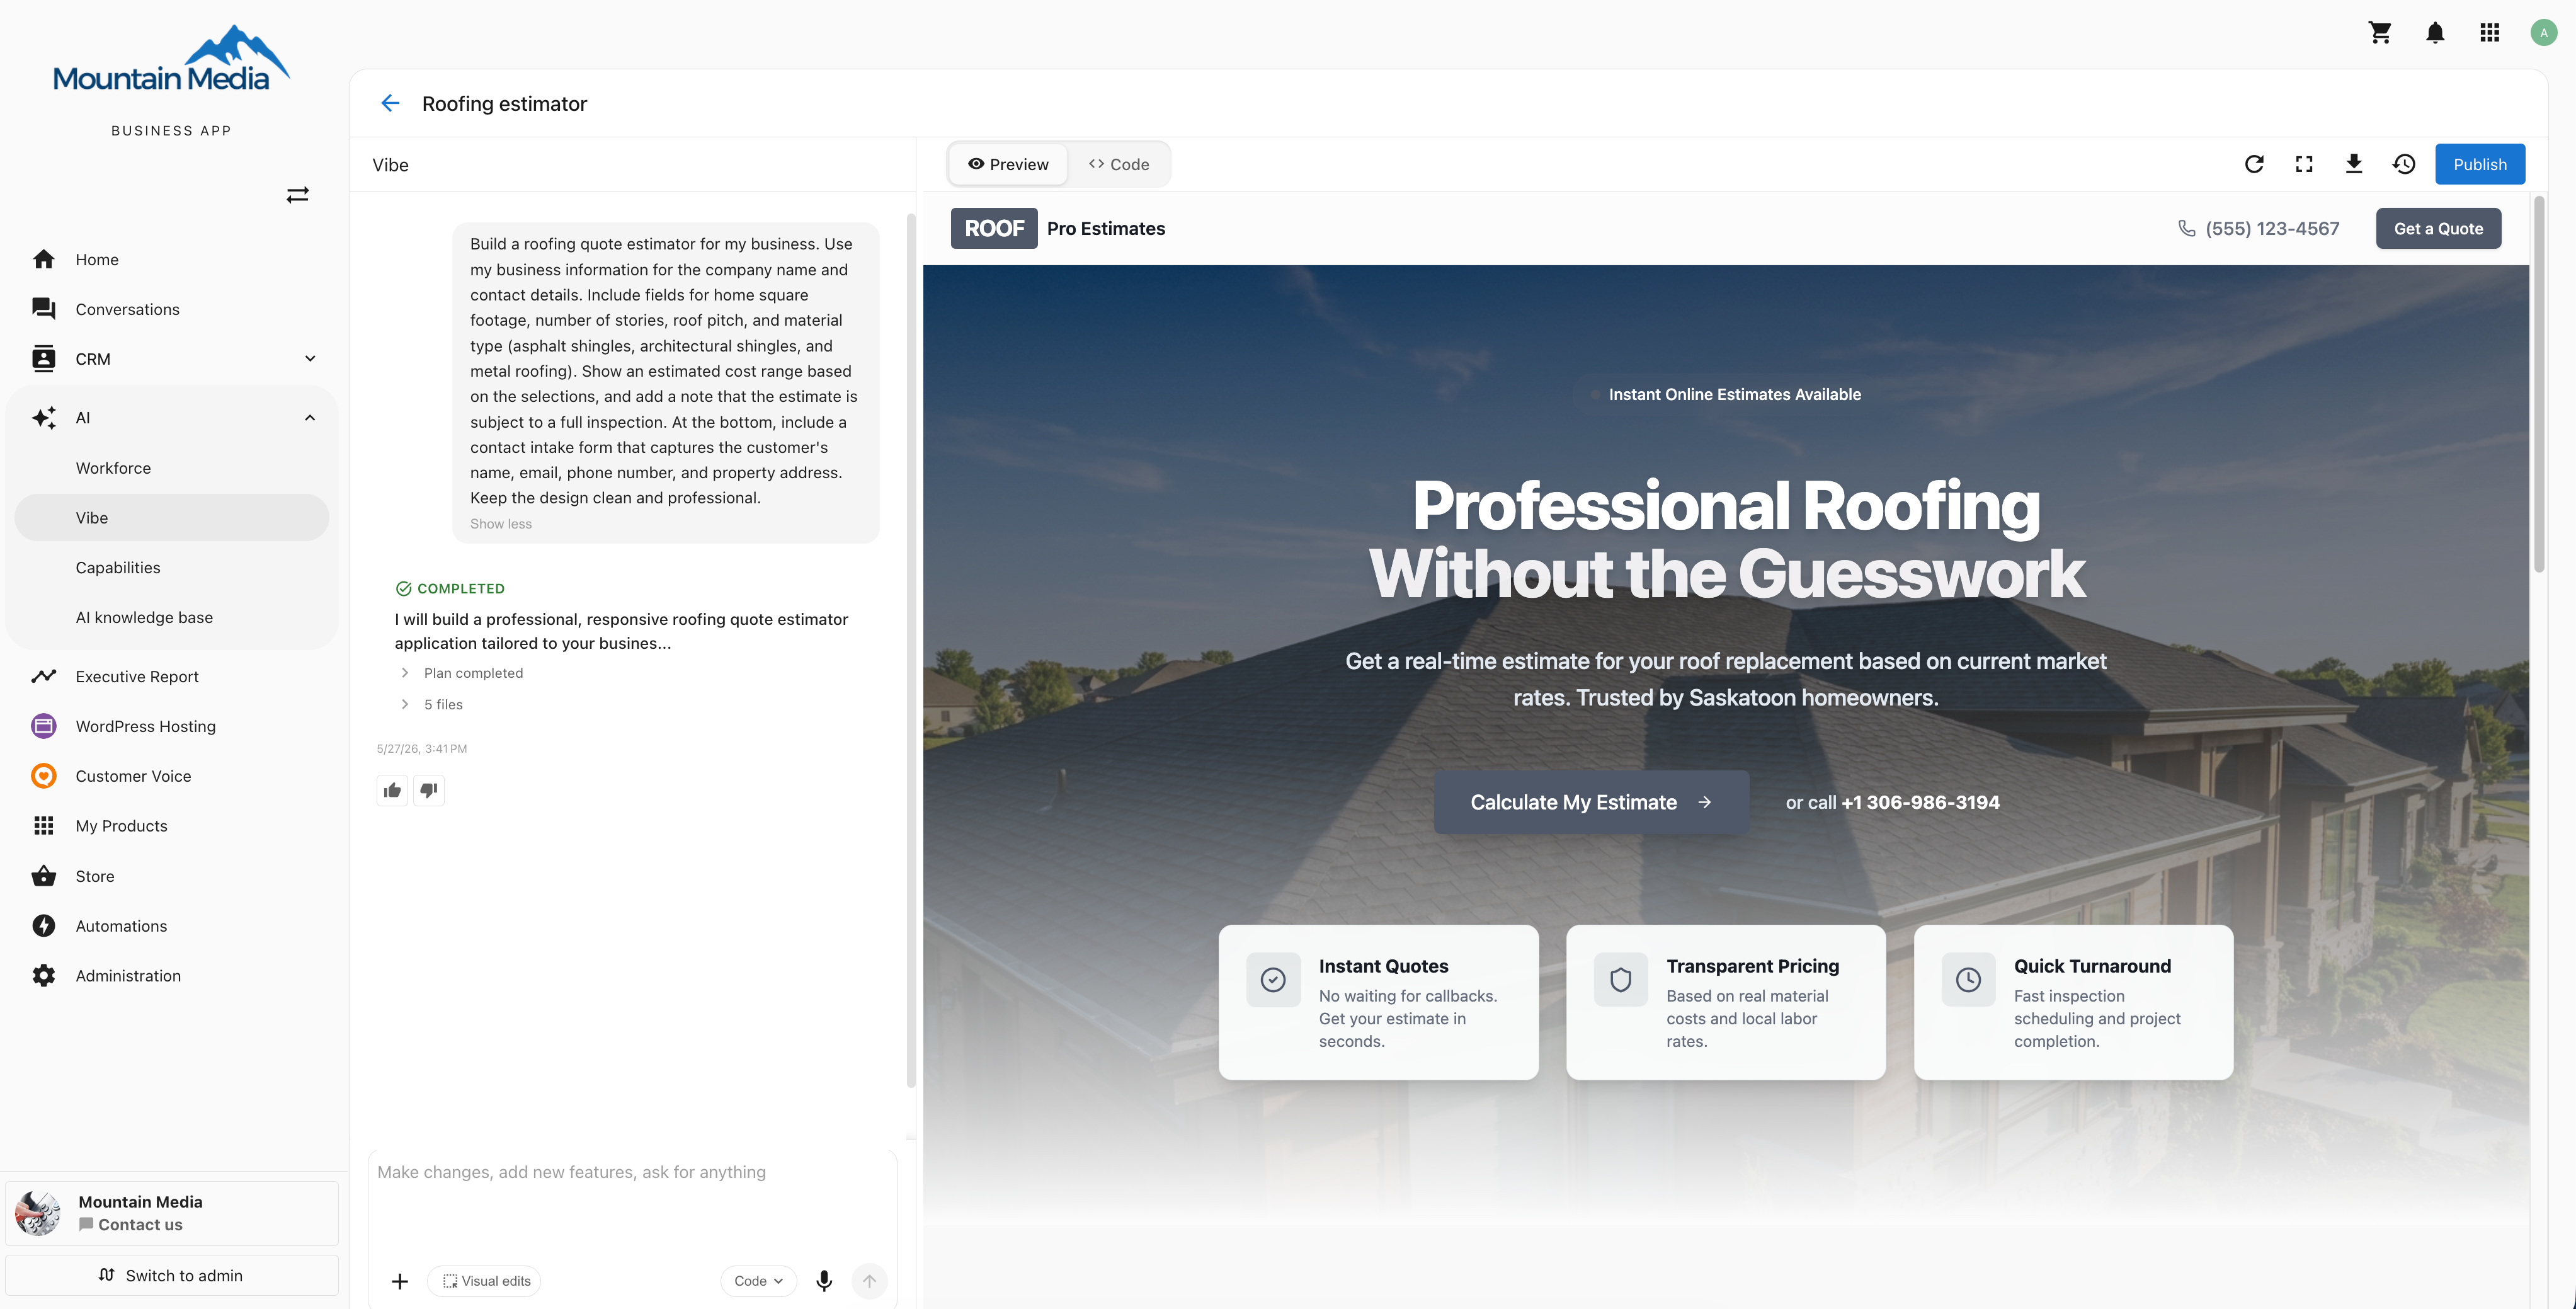
Type your first prompt in the chat input at the bottom of the chat panel. Here are some good starting prompts:
Example First Prompts
A landing page:
Build a modern landing page for a coffee shop called "Bean & Brew". Include a hero section with a tagline, a menu section with coffee drinks and prices, an about section, and a contact form at the bottom.
A multi-page site:
Create a website for a yoga studio called "Still Point Yoga". Include a home page with class schedule, an instructors page with bios and photos, a pricing page with membership tiers, and a contact page with a form.
A portfolio site:
Build a personal portfolio website for a photographer. Include a full-screen hero image, a gallery grid with hover effects, an about page, and a contact page with a form.
Press Enter or click the send button to submit your prompt.
Step 4: Watch Vibe build
After you submit your prompt, Vibe runs through a consistent sequence you can follow in the chat:
- Preparing environment — Vibe spins up a sandbox for your project.
- Thinking — Vibe internalizes your request and works out the architecture.
- Applying theme and images — Vibe sets the visual style you described and generates or places any imagery the design needs.
- Editing files — Each component, page, and configuration file streams in as Vibe writes it. You see entries like "Editing Navbar.tsx", "Editing Home.tsx", and "Editing OwnerDashboard.tsx" appear in real time.
- Validating — Vibe takes a screenshot of the result, checks the design, and runs a build to surface errors.
- Checking for errors — If anything is broken, Vibe fixes it before declaring the run finished. See Error handling and troubleshooting for how the auto-fix layers work.
- Completed — A
COMPLETEDblock appears at the bottom of the conversation with collapsible "Architecture & Navigation" and "Files" details.
The chat auto-scrolls to follow new events as they arrive. If you scroll up to read older context, follow-tail pauses; scroll back near the bottom and it resumes.
While a generation is in progress, you can type your next message in the chat input — it won't interrupt the current run. To stop a run early, click the Stop button in the chat input. The generation halts almost immediately, the last working preview stays on screen, and your original prompt returns to the input so you can edit and resend.
Step 5: Iterate and Refine
Your first generation is just the starting point. Use follow-up prompts to refine your application:
Change the hero background to a dark gradient and make the tagline larger
Add a testimonials section between the menu and contact sections
Make the navigation sticky and add a mobile hamburger menu
Each prompt builds on the current state of your application. Vibe understands the context of what's already been built and makes targeted changes.
Step 6: Publish Your Site
Once you're happy with what Vibe has built, publish it to make it live at a real URL.
In the toolbar, click Publish. Vibe shows your site's address, a default URL generated automatically from your project name. No DNS setup or hosting configuration is required; it's live and secured with TLS as soon as you publish.
Want a different subdomain? Click the pencil icon next to the address to edit it.
Publishing again after further edits updates the same URL, you don't get a new link each time, so it's safe to share right away and keep iterating.
Using your own domain
On the Professional plan, you can publish to a domain you own instead of the default address, including country and regional domains like .co.uk, .com.au, and .org.uk. Add it under Custom Domain in the same Publish dialog. See Custom Domains for the full setup steps.
The published site can move to your own domain this way, while the in-editor preview link stays on its default address.
Taking your project elsewhere
If you ever need to move a project off Vibe entirely, use Download in the toolbar to export the complete source, assets, and checkpoint history. See Toolbar above.
Understanding the Interface
Chat Panel
The chat panel shows your conversation history with Vibe. Each exchange shows:
- Your message — What you asked for.
- Vibe's response — Streamed inline as the work happens: clarifying questions (when needed), status events as files are written, and a
COMPLETEDblock at the end with collapsible details for the architecture and the files that changed. - Inline screenshots — When Vibe captures a reference site or runs a visual check, the screenshot appears inline in the status row.
- Feedback buttons — Thumbs up/down to rate each generation.
On projects with multiple collaborators, each prompt shows the sender's avatar, name, and a timestamp, so it's clear who asked for what.
Chat Input
At the bottom of the chat panel, you find:
| Control | Description |
|---|---|
| Text input | Type your prompt here. Press Enter to send, Shift+Enter for a new line. Paste a URL in the input to clone a reference site (see Cloning a reference site). |
| + (image) | Attach screenshots or mockups to show Vibe what you want. |
| Visual edits | Toggle design mode on or off. When on, click any element in the live preview to select it; toggle off to return to prompting. |
| Mode selector | Pick the generation mode for the next prompt. |
| Microphone | Record voice input. Vibe transcribes your speech into a prompt. |
| Send | Submit the prompt to Vibe. |
| Stop | (Appears during a generation.) Halt the current run. The last working preview stays on screen and your prompt returns to the input. |
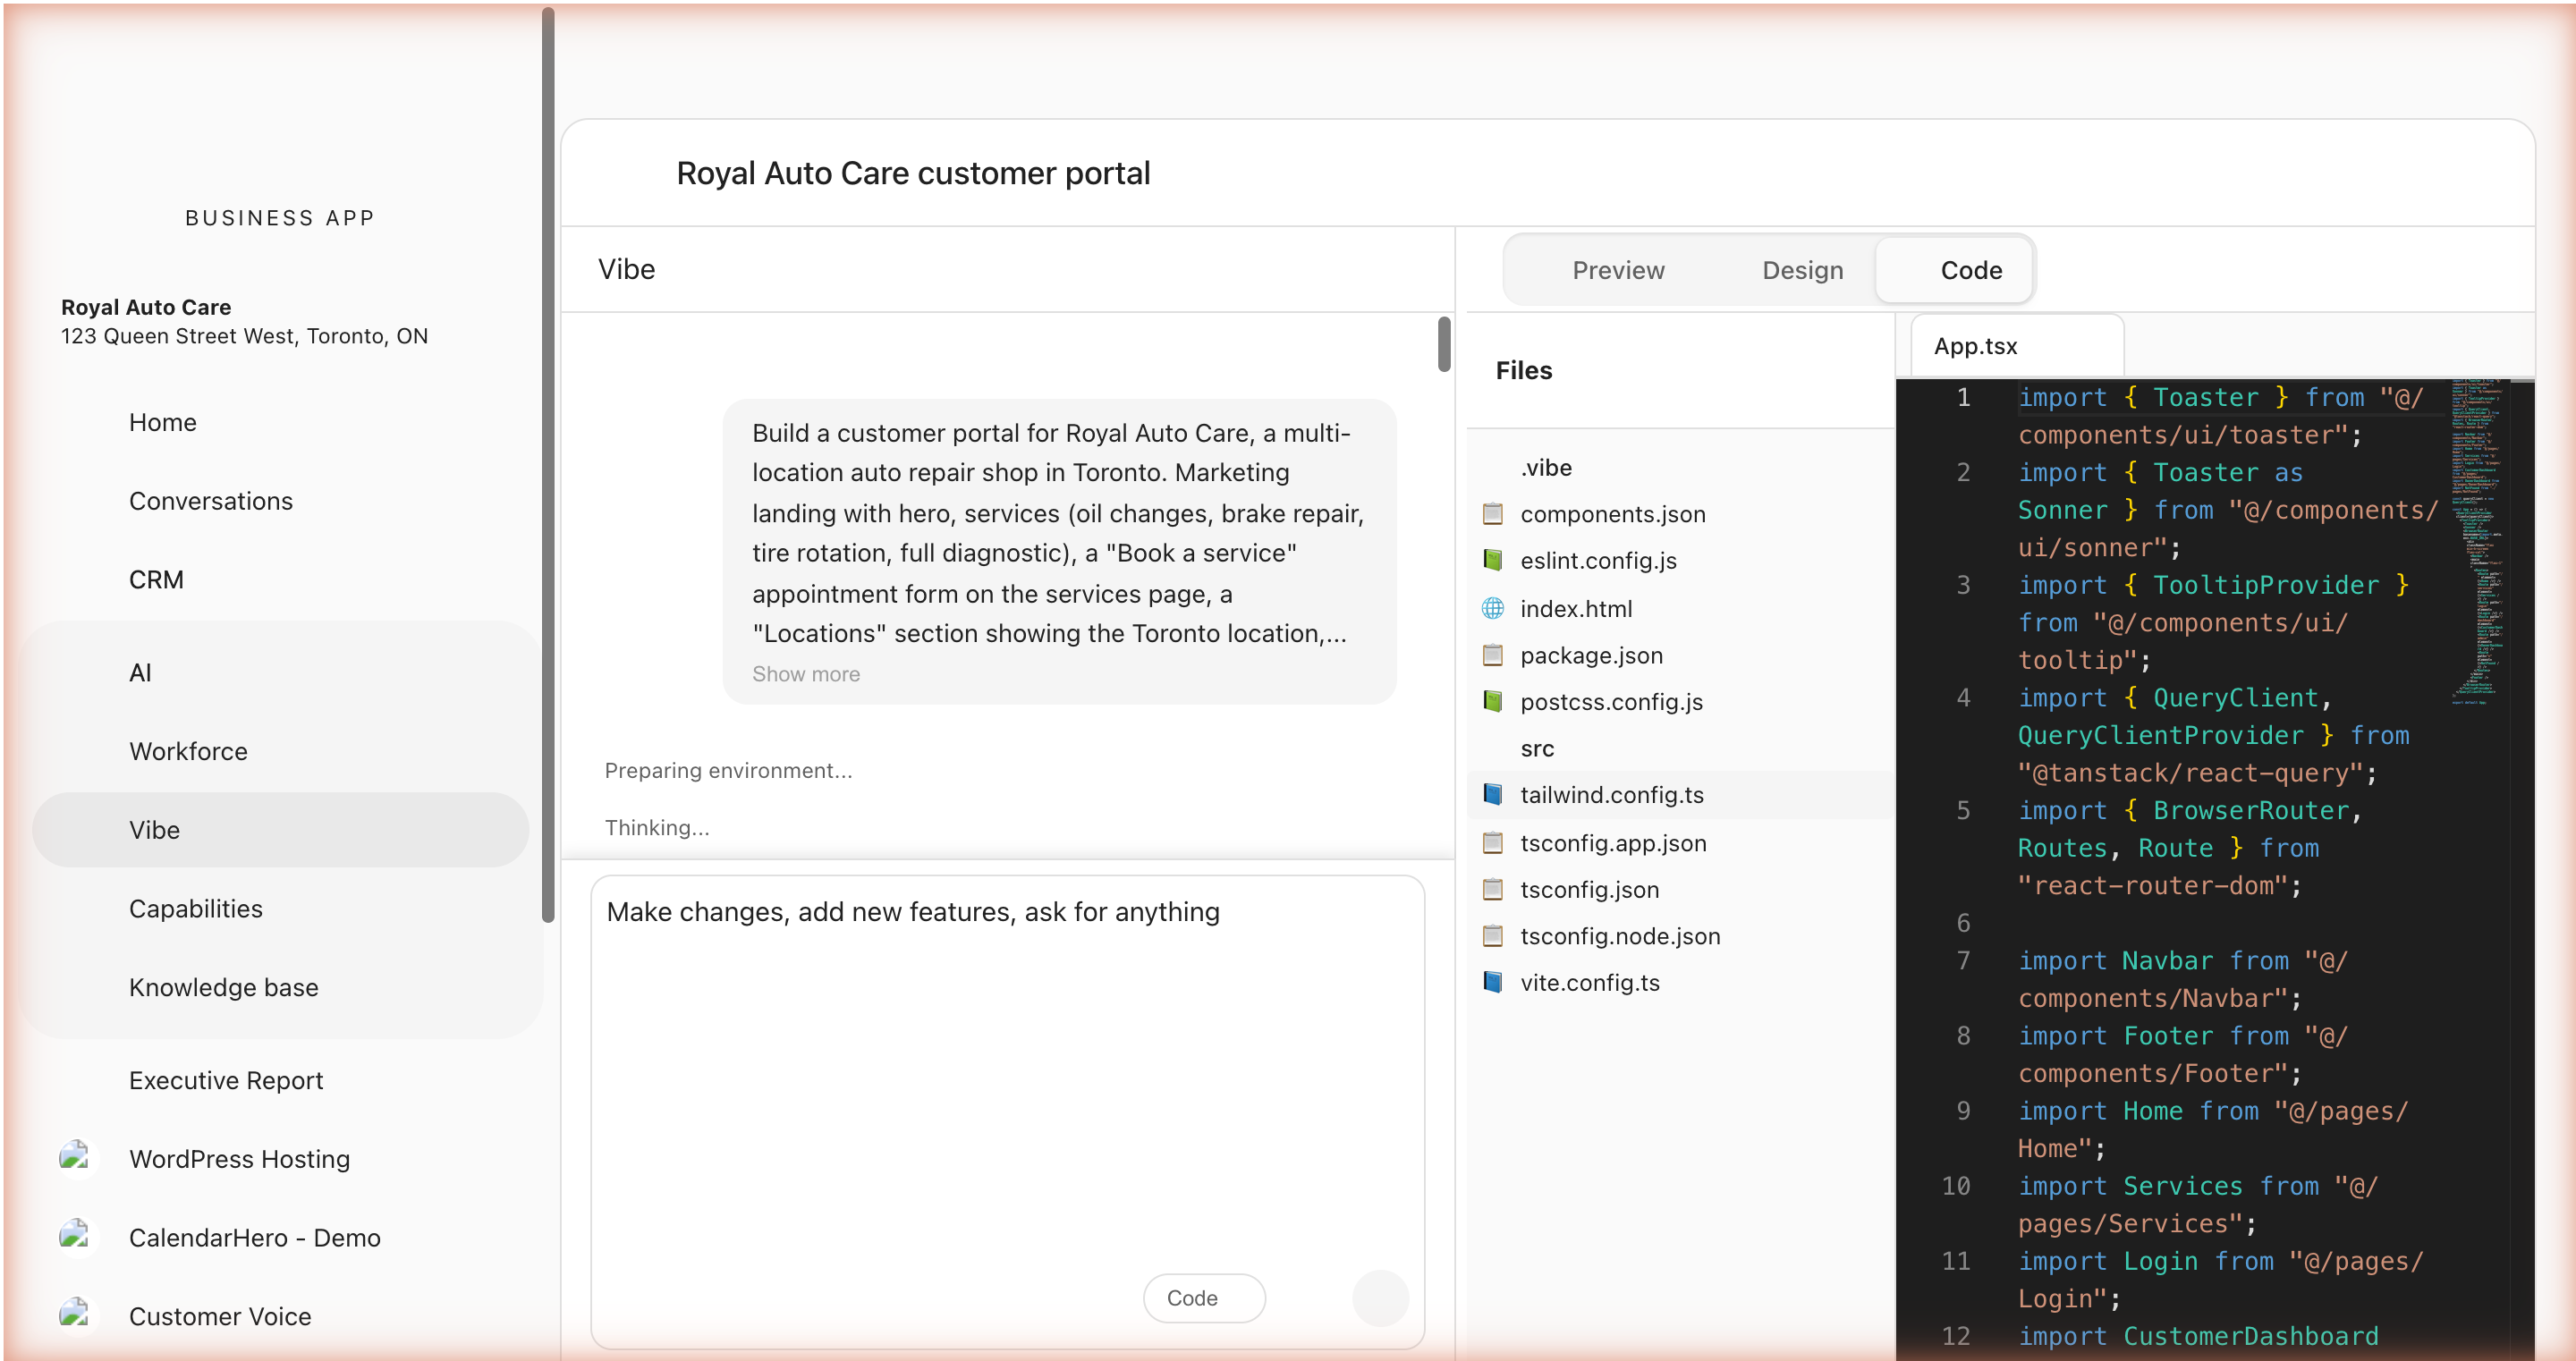
Preview, Design, and Code Modes
Use the tabs at the top to switch between views:
- Preview — Live preview of your built application
- Design — Visual editor for colors and element-level edits. See Visual Editor.
- Code — File explorer and code editor to view or manually edit source files
Toolbar
The top-right toolbar provides:
- Refresh — Reload the preview.
- Fullscreen — Expand the preview to full screen.
- Download — Download a complete archive of your project: full source, all assets, and the git history of every checkpoint.
- Checkpoints — Browse and restore previous versions of your project.
Tips for New Users
- Start simple — Begin with a clear, focused prompt. You can always add complexity in later iterations.
- Be specific — Instead of "make it look better," try "increase the padding around cards to 24px and add a subtle shadow."
- Iterate in small steps — Make one or two changes per prompt rather than rewriting the whole application.
- Use images — If you have a design mockup, attach a screenshot to show Vibe what you're going for.
- Paste a URL — If a website you like is closer to your target than words can describe, paste its URL and Vibe will clone the look and structure as a starting point.
- Read the COMPLETED block — The collapsible "Architecture & Navigation" and "Files" details show what shipped. After a big change, expanding them is the fastest way to confirm Vibe interpreted your prompt the way you meant it.
Next Steps
- Prompting Guide — Learn the principles behind effective prompts
- Visual Editor — Make targeted edits without prompts
- Planning — Understand how Vibe plans before it builds