Add Google Tag/AdSense Code to WordPress
Adding a Google Tag or AdSense code to your WordPress site is a straightforward process. Follow these steps to ensure the code is correctly integrated into your website.
Step 1: Sign In to Your WordPress Backend
- Go to your WordPress login page.
- Enter your credentials and sign in to access the WordPress dashboard.
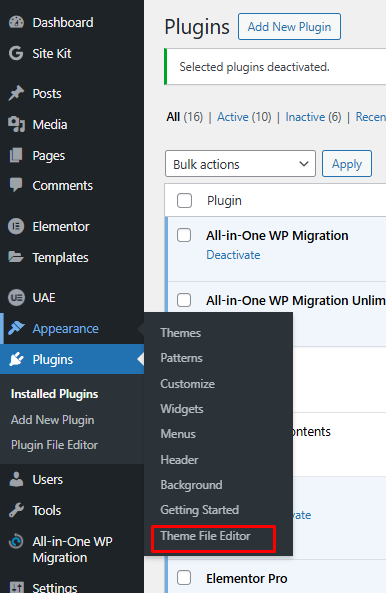
Step 2: Access the Theme File Editor
- In the menu on the left, click Appearance.
- From the dropdown menu, select Theme File Editor.
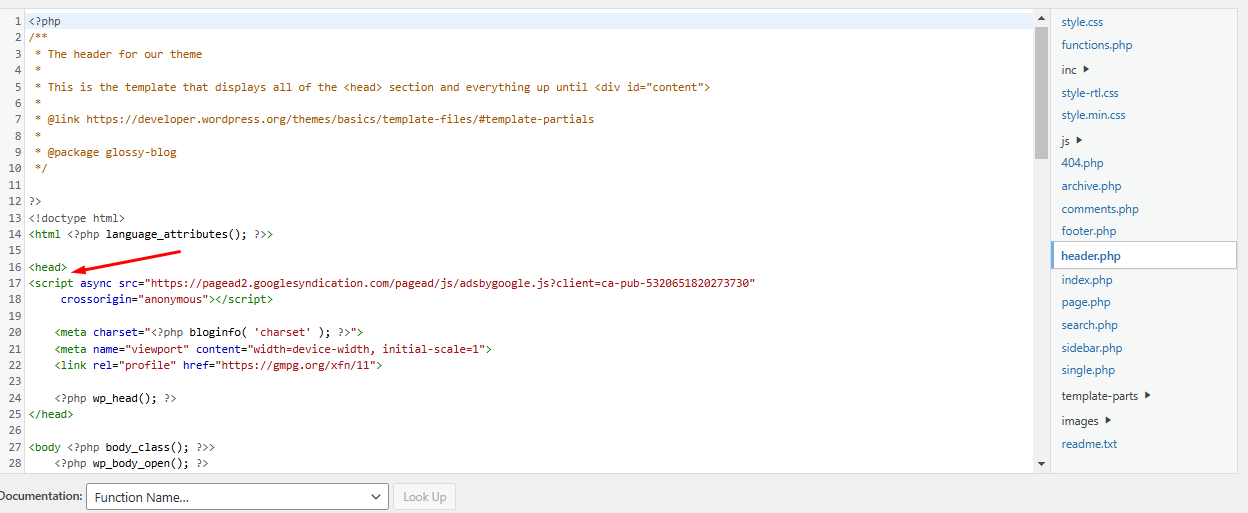
Step 3: Locate the Header File
- In the right-hand panel of the Theme File Editor, look for the Theme Header (header.php) file.
- Note: The file name might differ depending on your theme. For example, if you're using the "WordPress Twenty Twenty-One" theme, the header file is named header.php.
- Open the header file and confirm that it contains a
<head>tag.
Step 4: Add the Google Tag/AdSense Code
- Copy the Google Tag/AdSense code snippet from your Google account.
- Paste the code snippet within the
<head>tag in the header file. - Click Update File to save your changes.
important
Theme Changes: If you change your WordPress theme, the header.php file might be overwritten. In such cases, you'll need to repeat the above process to re-add the code to the new theme's header file.
Backup: Before making changes to your theme files, it's a good idea to back up your website to prevent accidental data loss.
By following these steps, you can successfully integrate Google Tag or AdSense code into your WordPress site.