Build and publish a form
Step 1: Navigate to CRM > Forms

Add the key fields you'd like to capture. Keep forms short—conversion rates drop as fields increase (e.g. forms with 5 fields or fewer tend to convert better than those with 10+).
Field settings
For all field types:
- You can set a default value, which will be submitted when the user submits an empty field.
- You can mark the field as required, and the user can't submit the form without filling in the required field.
- You can make the field hidden, so users won't see the field and can't edit it when they fill out the form.
- You can populate the specific form field dynamically using a query parameter from the URL.
- Example: form at
https://www.example.com/form?campaign=spring-promotionwith "campaign" set in the field → the field pre-fills with "spring-promotion" when the user submits.
- Example: form at
For the string field: you can switch it to an open text field, drop-down, or radio button options.
Short forms convert better. Consider deferring lower-priority questions to a follow-up email or meeting.
Adding a file upload field
You can add a File upload field so visitors can attach a document or image when they submit. Files are attached to the Contact or Company record the form creates and receive an AI-generated summary for easier review.
- In the form builder, choose Add field and select File upload.
- Configure the field label and whether the file is required.
- Optionally set accepted file types (e.g. PDF, PNG, JPEG, DOCX) and a maximum file size.
- Save the form and test a submission to confirm the file attaches to the created record.
Files submitted through Forms are processed the same as files uploaded in CRM: a single file per submission is supported and an AI-generated summary appears after processing.
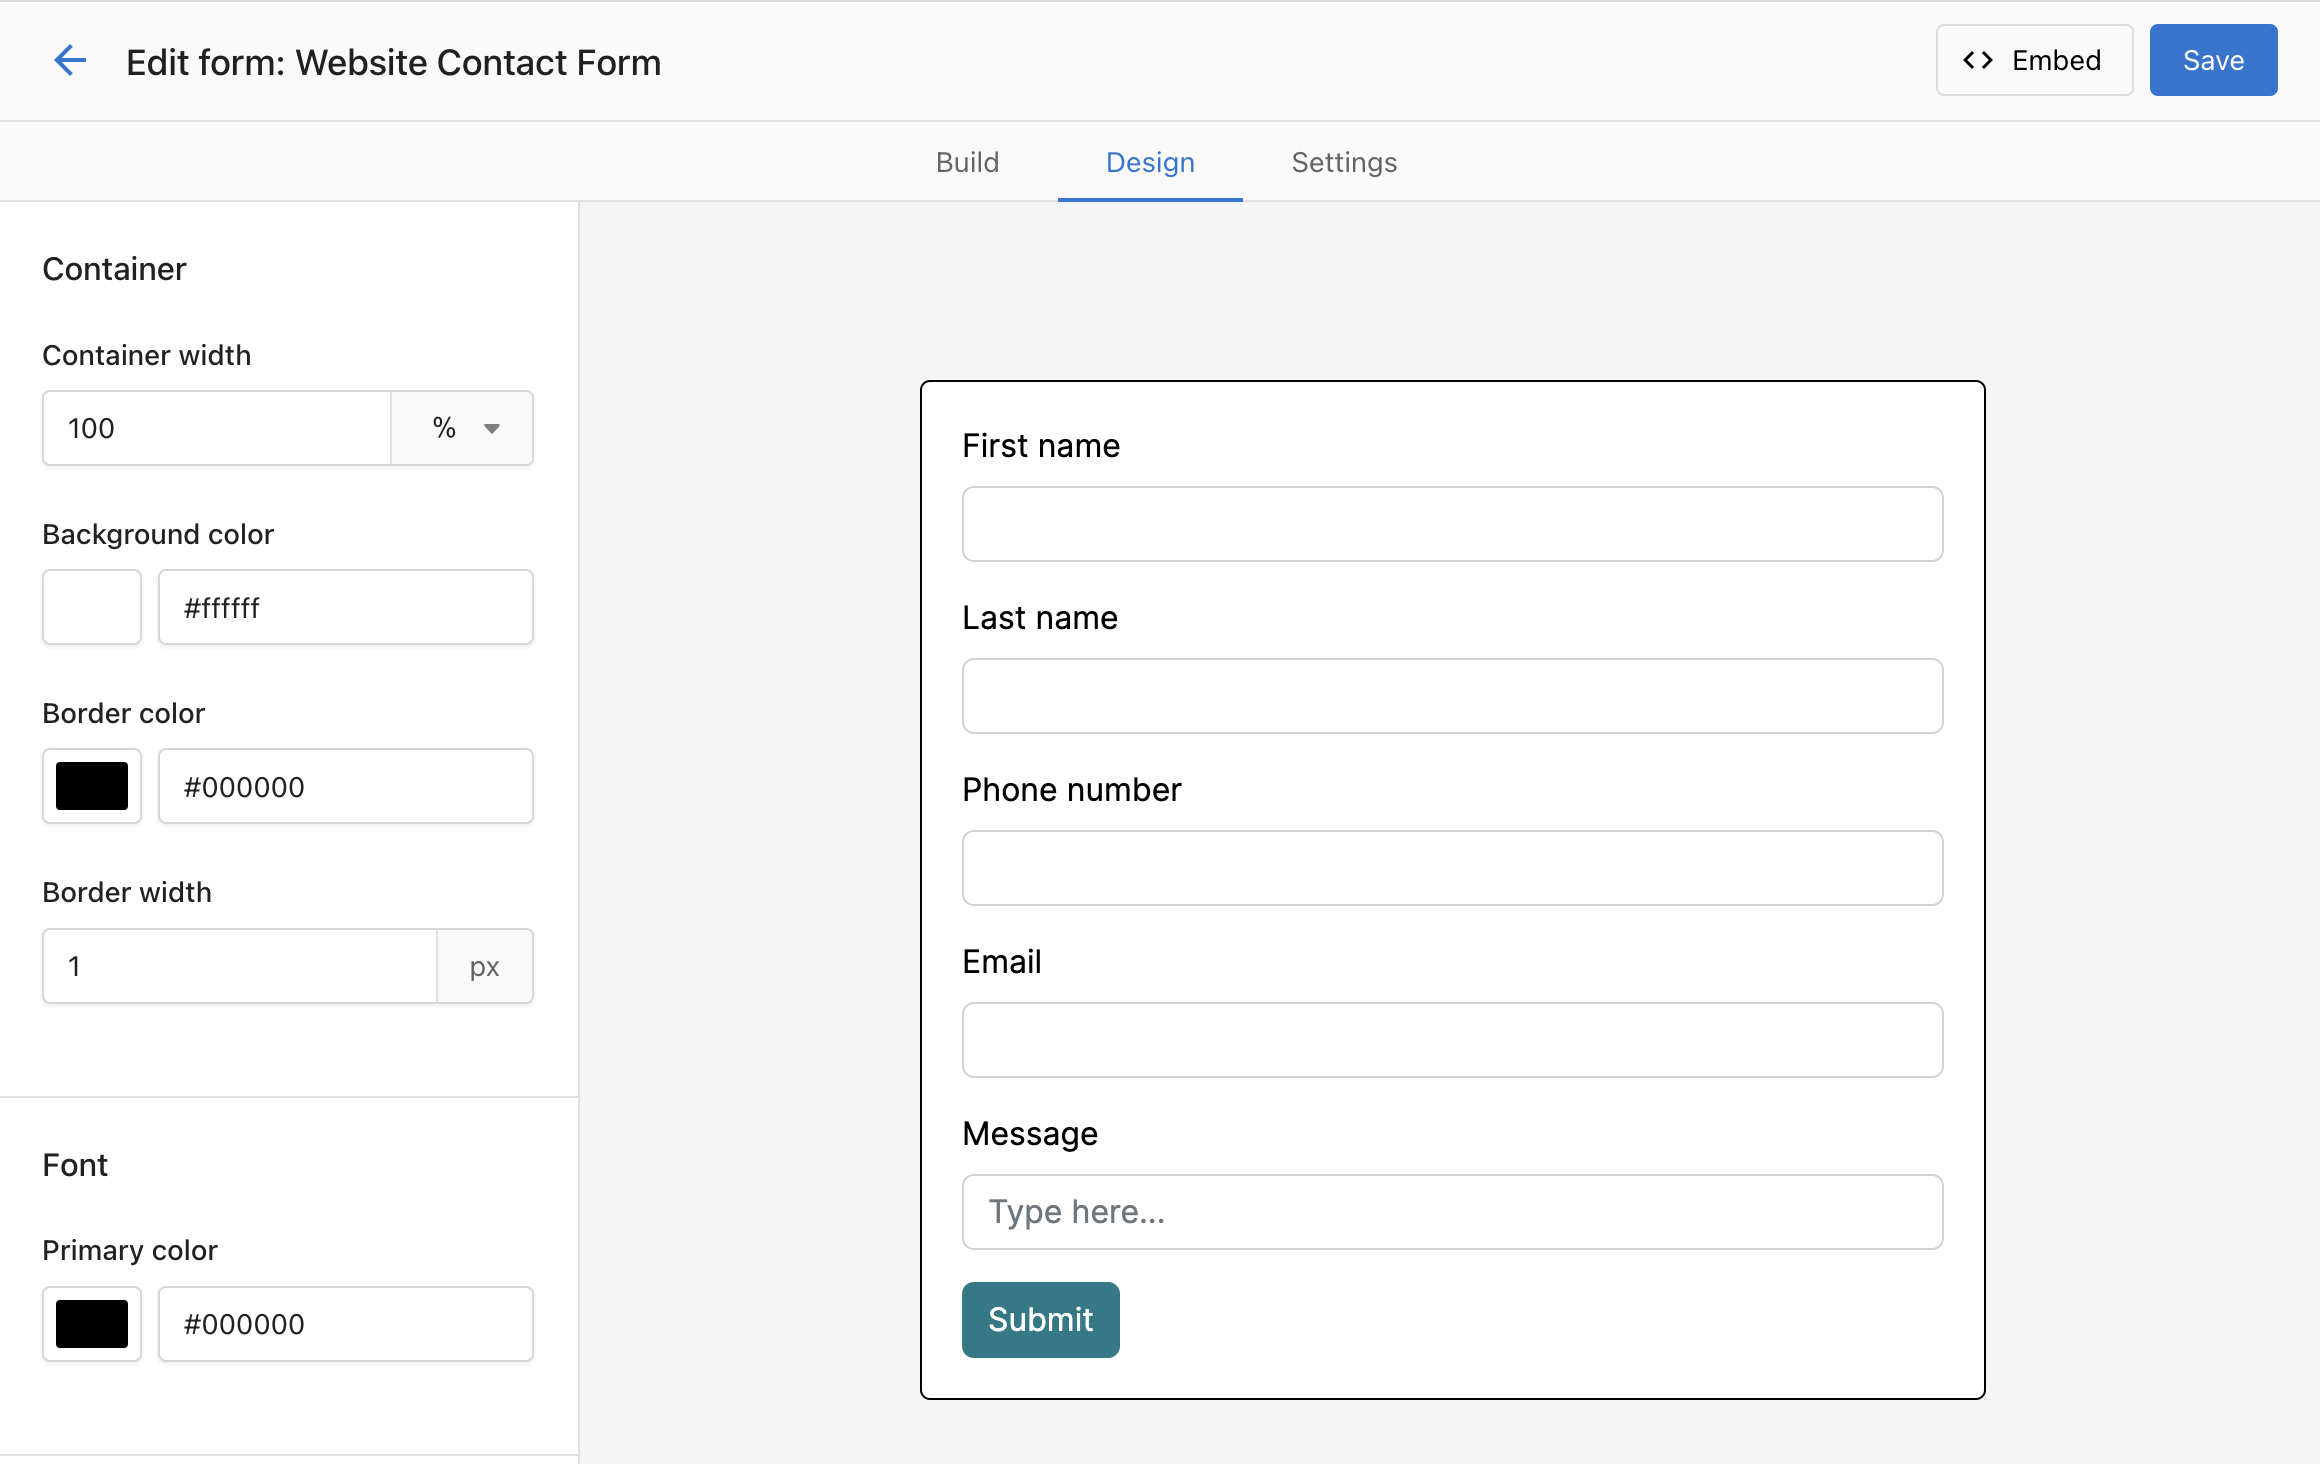
Step 2: Customize the styling
Set the form width (e.g. 100%) and manage the width in your page builder. In the Design tab, style the container, font, and button.
Advanced Styling with Custom CSS
- In the form builder, go to the Design tab.
- Scroll down to the Custom CSS section.
- Add your CSS rules to customize colors, fonts, spacing, and layout.
- Preview changes in real-time.
Example custom CSS:
/* Customize form background */
.form-container {
    background: linear-gradient(135deg, #667eea 0%, #764ba2 100%);
    border-radius: 10px;
    padding: 20px;
}

/* Style input fields */
input[type="text"], input[type="email"] {
    border: 2px solid #4CAF50;
    border-radius: 5px;
    padding: 10px;
}

/* Customize submit button */
.submit-button {
    background-color: #4CAF50;
    color: white;
    border-radius: 25px;
    padding: 12px 30px;
    font-weight: bold;
}
Test your custom CSS on different devices to ensure your form looks great on desktop, tablet, and mobile.
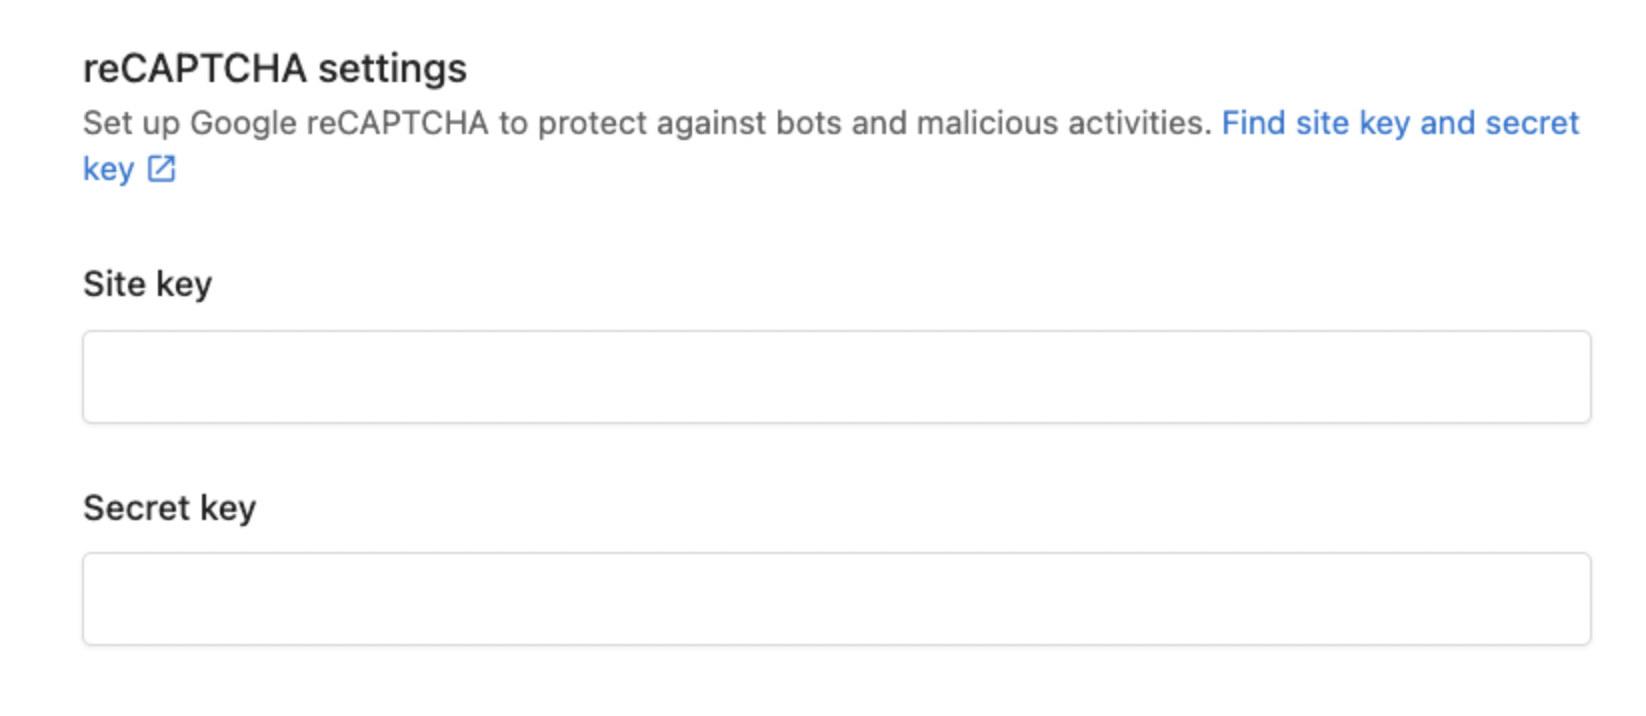
Step 3: Set up reCAPTCHA
In the form builder, under Settings, use the reCAPTCHA section. After generating the site key and secret key, setup completes automatically (this can take a few minutes).
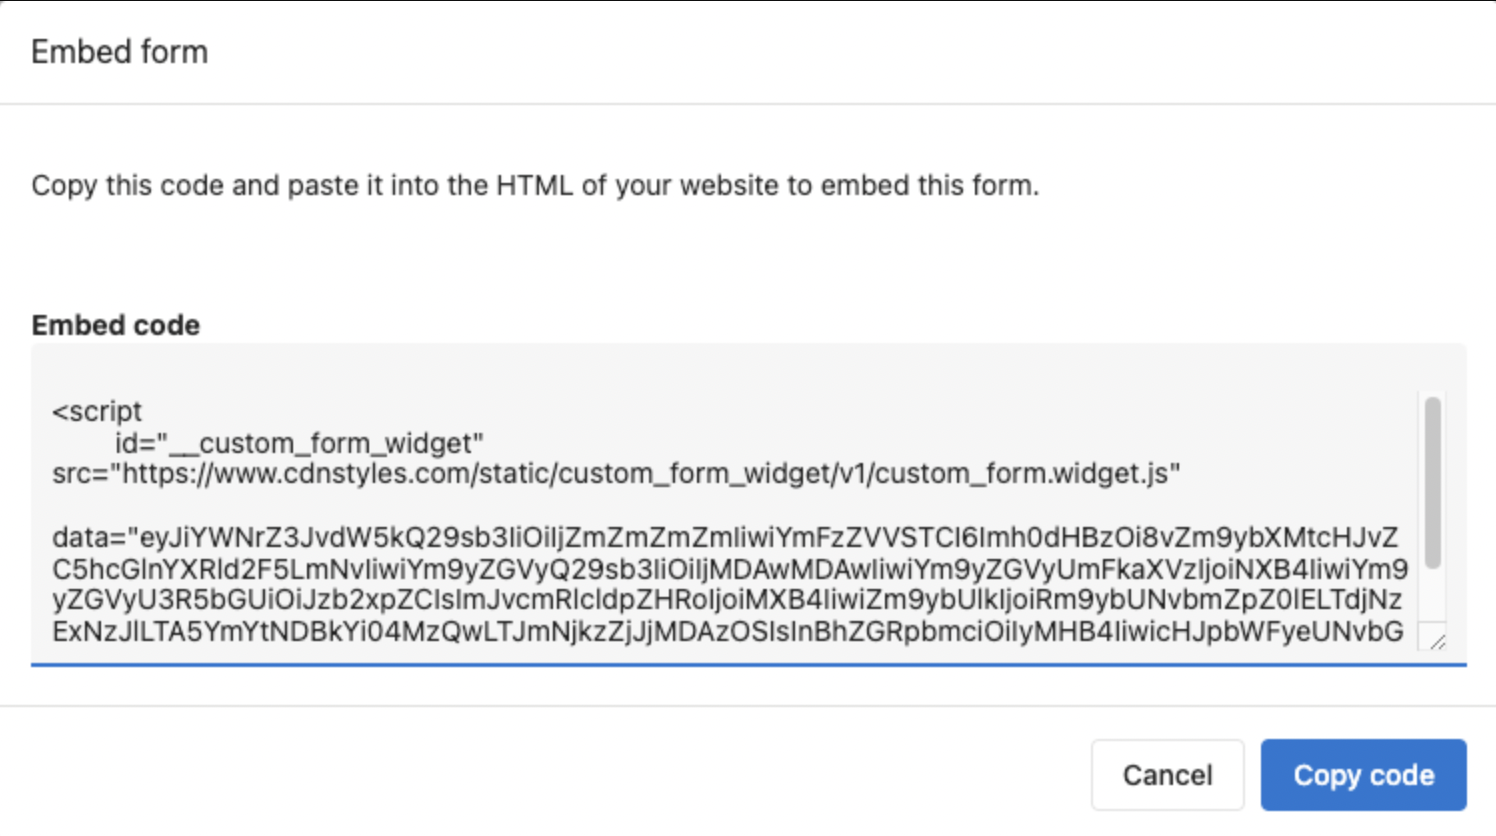
Step 4: Copy the embed code
Copy the embed code and place it on your website landing page or contact page. If using WordPress (e.g., Divi), add a "Code" block and paste the embed code.
Embed multiple forms on the same page
You can place more than one form on a single page. Each form has its own embed code — duplicate the <script> tag for each form and change only the data= attribute:
<!-- First form -->
<script
  async
  data-crm-form-widget
  src="https://www.cdnlinks.vendasta.com/.../custom_form.widget.js"
  data="YOUR_BASE64_DATA_FORM_1"
></script>

<!-- Second form -->
<script
  async
  data-crm-form-widget
  src="https://www.cdnlinks.vendasta.com/.../custom_form.widget.js"
  data="YOUR_BASE64_DATA_FORM_2"
></script>
Copy the embed code from each form's Embed tab — the data= value is the only thing that differs between forms.
Step 5: Test your form
Submit a test response to confirm that a contact is captured in the CRM and any automations run as expected.
Style a form from your website's stylesheet
The Custom CSS editor inside the Design tab styles the form from within — standard CSS selectors like input or .submit-button work there. If you want to apply styles from your website's own stylesheet instead, you need a different approach.
Each form renders in an isolated container that blocks outside CSS from reaching its internal elements. To style across that boundary, use the CSS ::part() pseudo-element:
/* Target all inputs across every embedded form */
.crm-form-host::part(input) {
  border: 2px solid #3b82f6;
  border-radius: 6px;
}

/* Target labels */
.crm-form-host::part(label) {
  font-weight: 600;
}

/* Target the submit button */
.crm-form-host::part(submit-button) {
  background-color: #2563eb;
  color: white;
  border-radius: 999px;
}
Available part names
| Part name | What it targets |
|---|---|
form | The form container |
input | All input, textarea, and select elements |
label | All field labels |
submit-button | The submit button |
section-button | Next/back buttons on multi-section forms |
{type}-input | Input by field type, e.g. email-input, text-input |
{type}-label | Label by field type, e.g. email-label |
consent-input | Consent checkbox inputs |
promo-card | Promo section cards |
success-icon | Checkmark icon on the success page |
success-heading | Heading on the success page |
success-body | Body text on the success page |
Scope styles to one specific form
When you have multiple forms on the same page, add the form ID to your ::part() selector to target only that form. The form ID is the FormConfigID-... value in your embed code.
/* Only affect the contact form */
.crm-form-host::part(FormConfigID-abc123 input) {
  border-color: #7c3aed;
}

/* Only affect the newsletter form */
.crm-form-host::part(FormConfigID-xyz456 submit-button) {
  background-color: #059669;
}
You can find your form ID by inspecting the embedded form in your browser's developer tools. Look for the element <div class="crm-form-host" data-form-id="FormConfigID-...">.