Pipeline setup
How to set up a pipeline
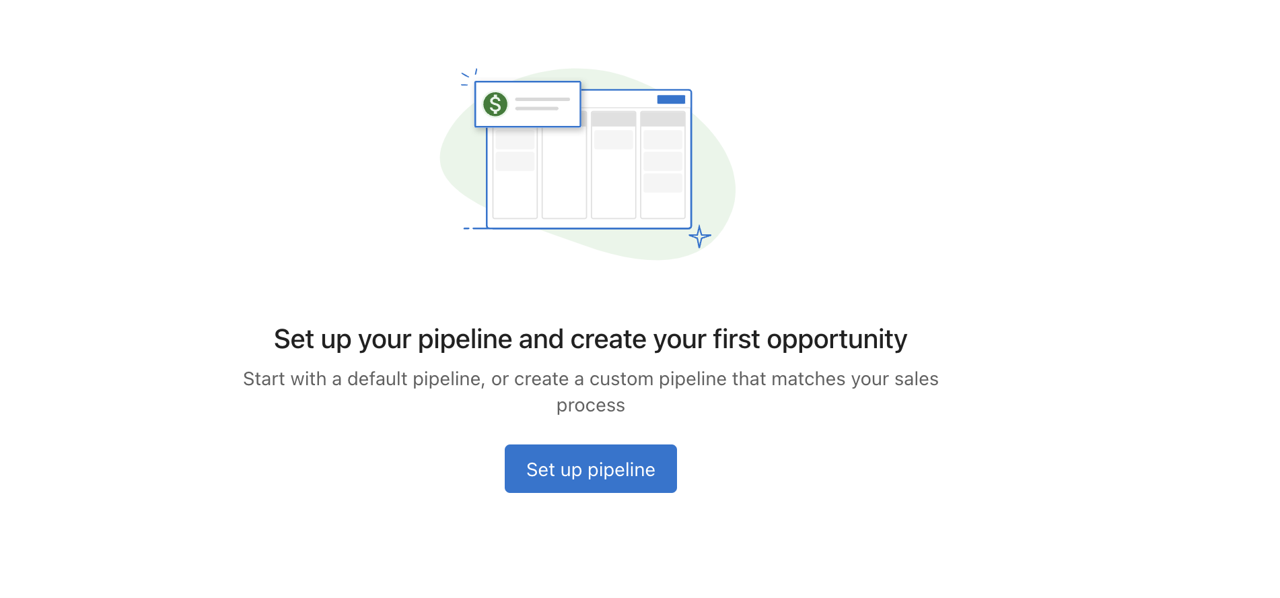
- Go to the Opportunities page.
- Click the
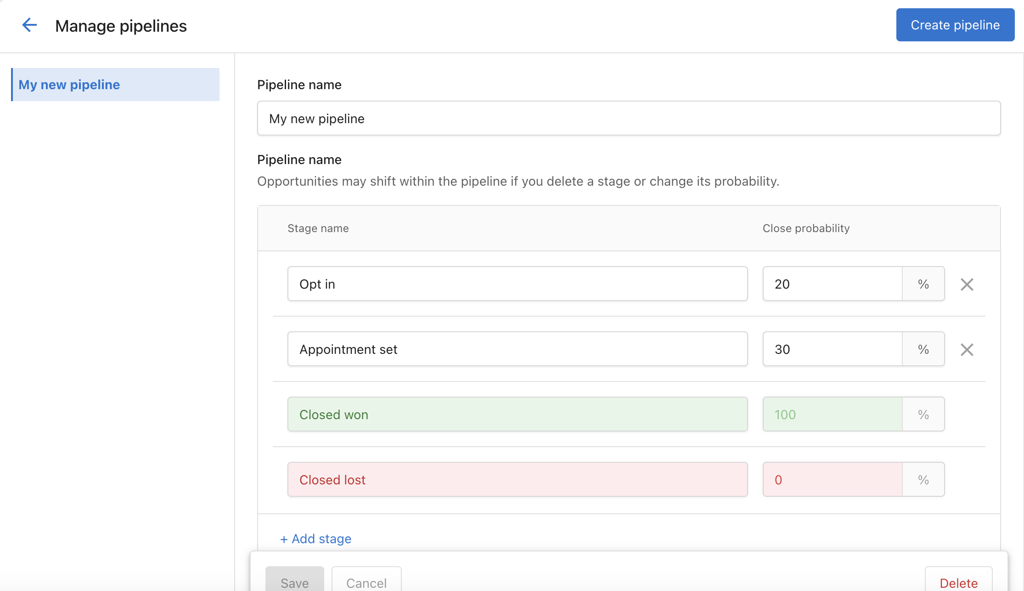
Set up a pipelinebutton. This creates a default pipeline. - Use
Add Stageto insert new stages. - Use the
Xnext to a stage to remove it (except for default stages). - Set a
Close Probabilityfor each stage to forecast deal success rates.
warning
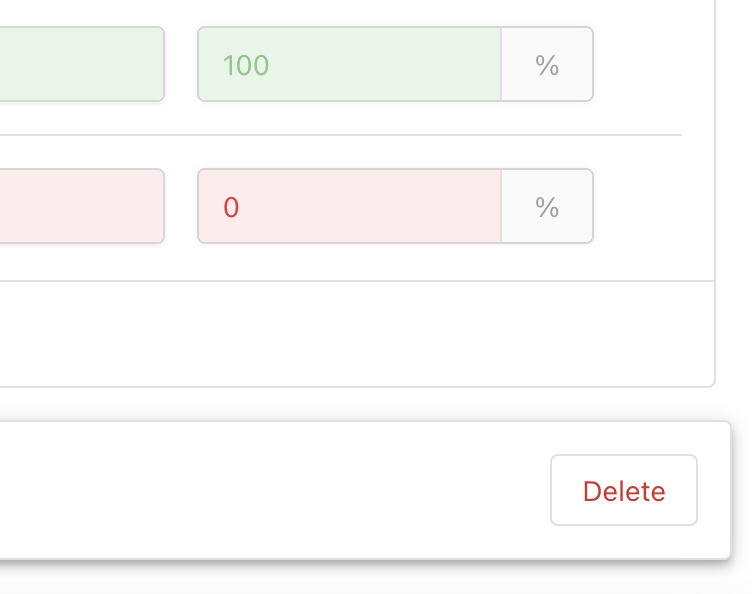
You cannot remove Closed Won and Closed Lost stages. You also cannot set any stage to 0% or 100% Close Probability, as those are reserved for the default stages.
Example pipeline stages
Stages represent how an opportunity moves through your sales process. You can name stages to match your workflow. Common examples include:
- Lead – Initial contact or expression of interest
- Qualified – The opportunity has been qualified as a potential sale
- Proposal – A proposal has been presented to the potential customer
- Negotiation – Terms are being negotiated
- Won – The opportunity has resulted in a sale (or use
Closed Won) - Lost – The opportunity did not result in a sale (or use
Closed Lost)
Moving opportunities through stages helps you track your sales process and spot bottlenecks. Set close probability per stage so the CRM can help you forecast revenue.
How to add or remove a pipeline
Add a new pipeline
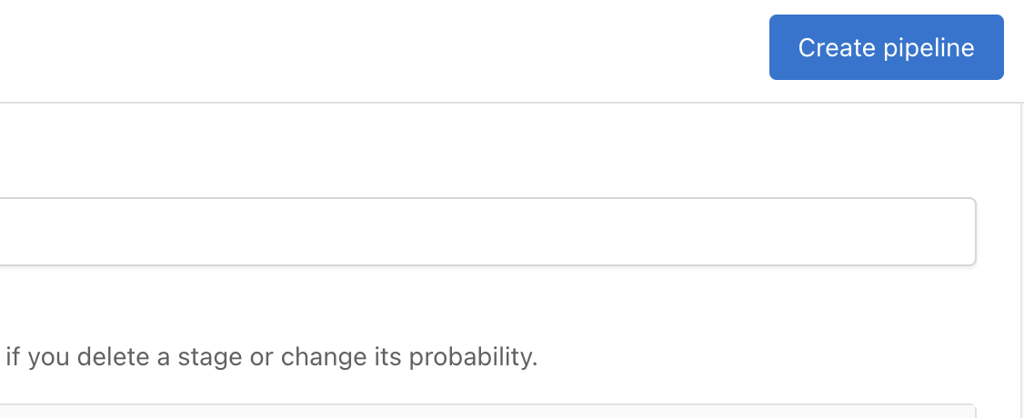
- Click
Create Pipelineto add a new one. There is no limit to the number of pipelines you can create.
Remove a pipeline
- Click
Deletenext to the pipeline you want to remove. - Ensure all opportunities are reassigned before deletion. If not, they will remain unattached.