How do I build a landing page with Vibe?
To build a landing page with Vibe, turn on the Forms connector, describe the page in a starting prompt, and refine the result with follow-up prompts and visual edits. Contact form submissions go straight to your CRM. Vibe works well for a landing page or small marketing site, producing a styled, responsive page with real images and working features. This page walks through the full flow using a real example: a multi-page site for a cat-run pizza restaurant, built from a single starting prompt, with a contact form that writes submissions back to the CRM.
The starting point
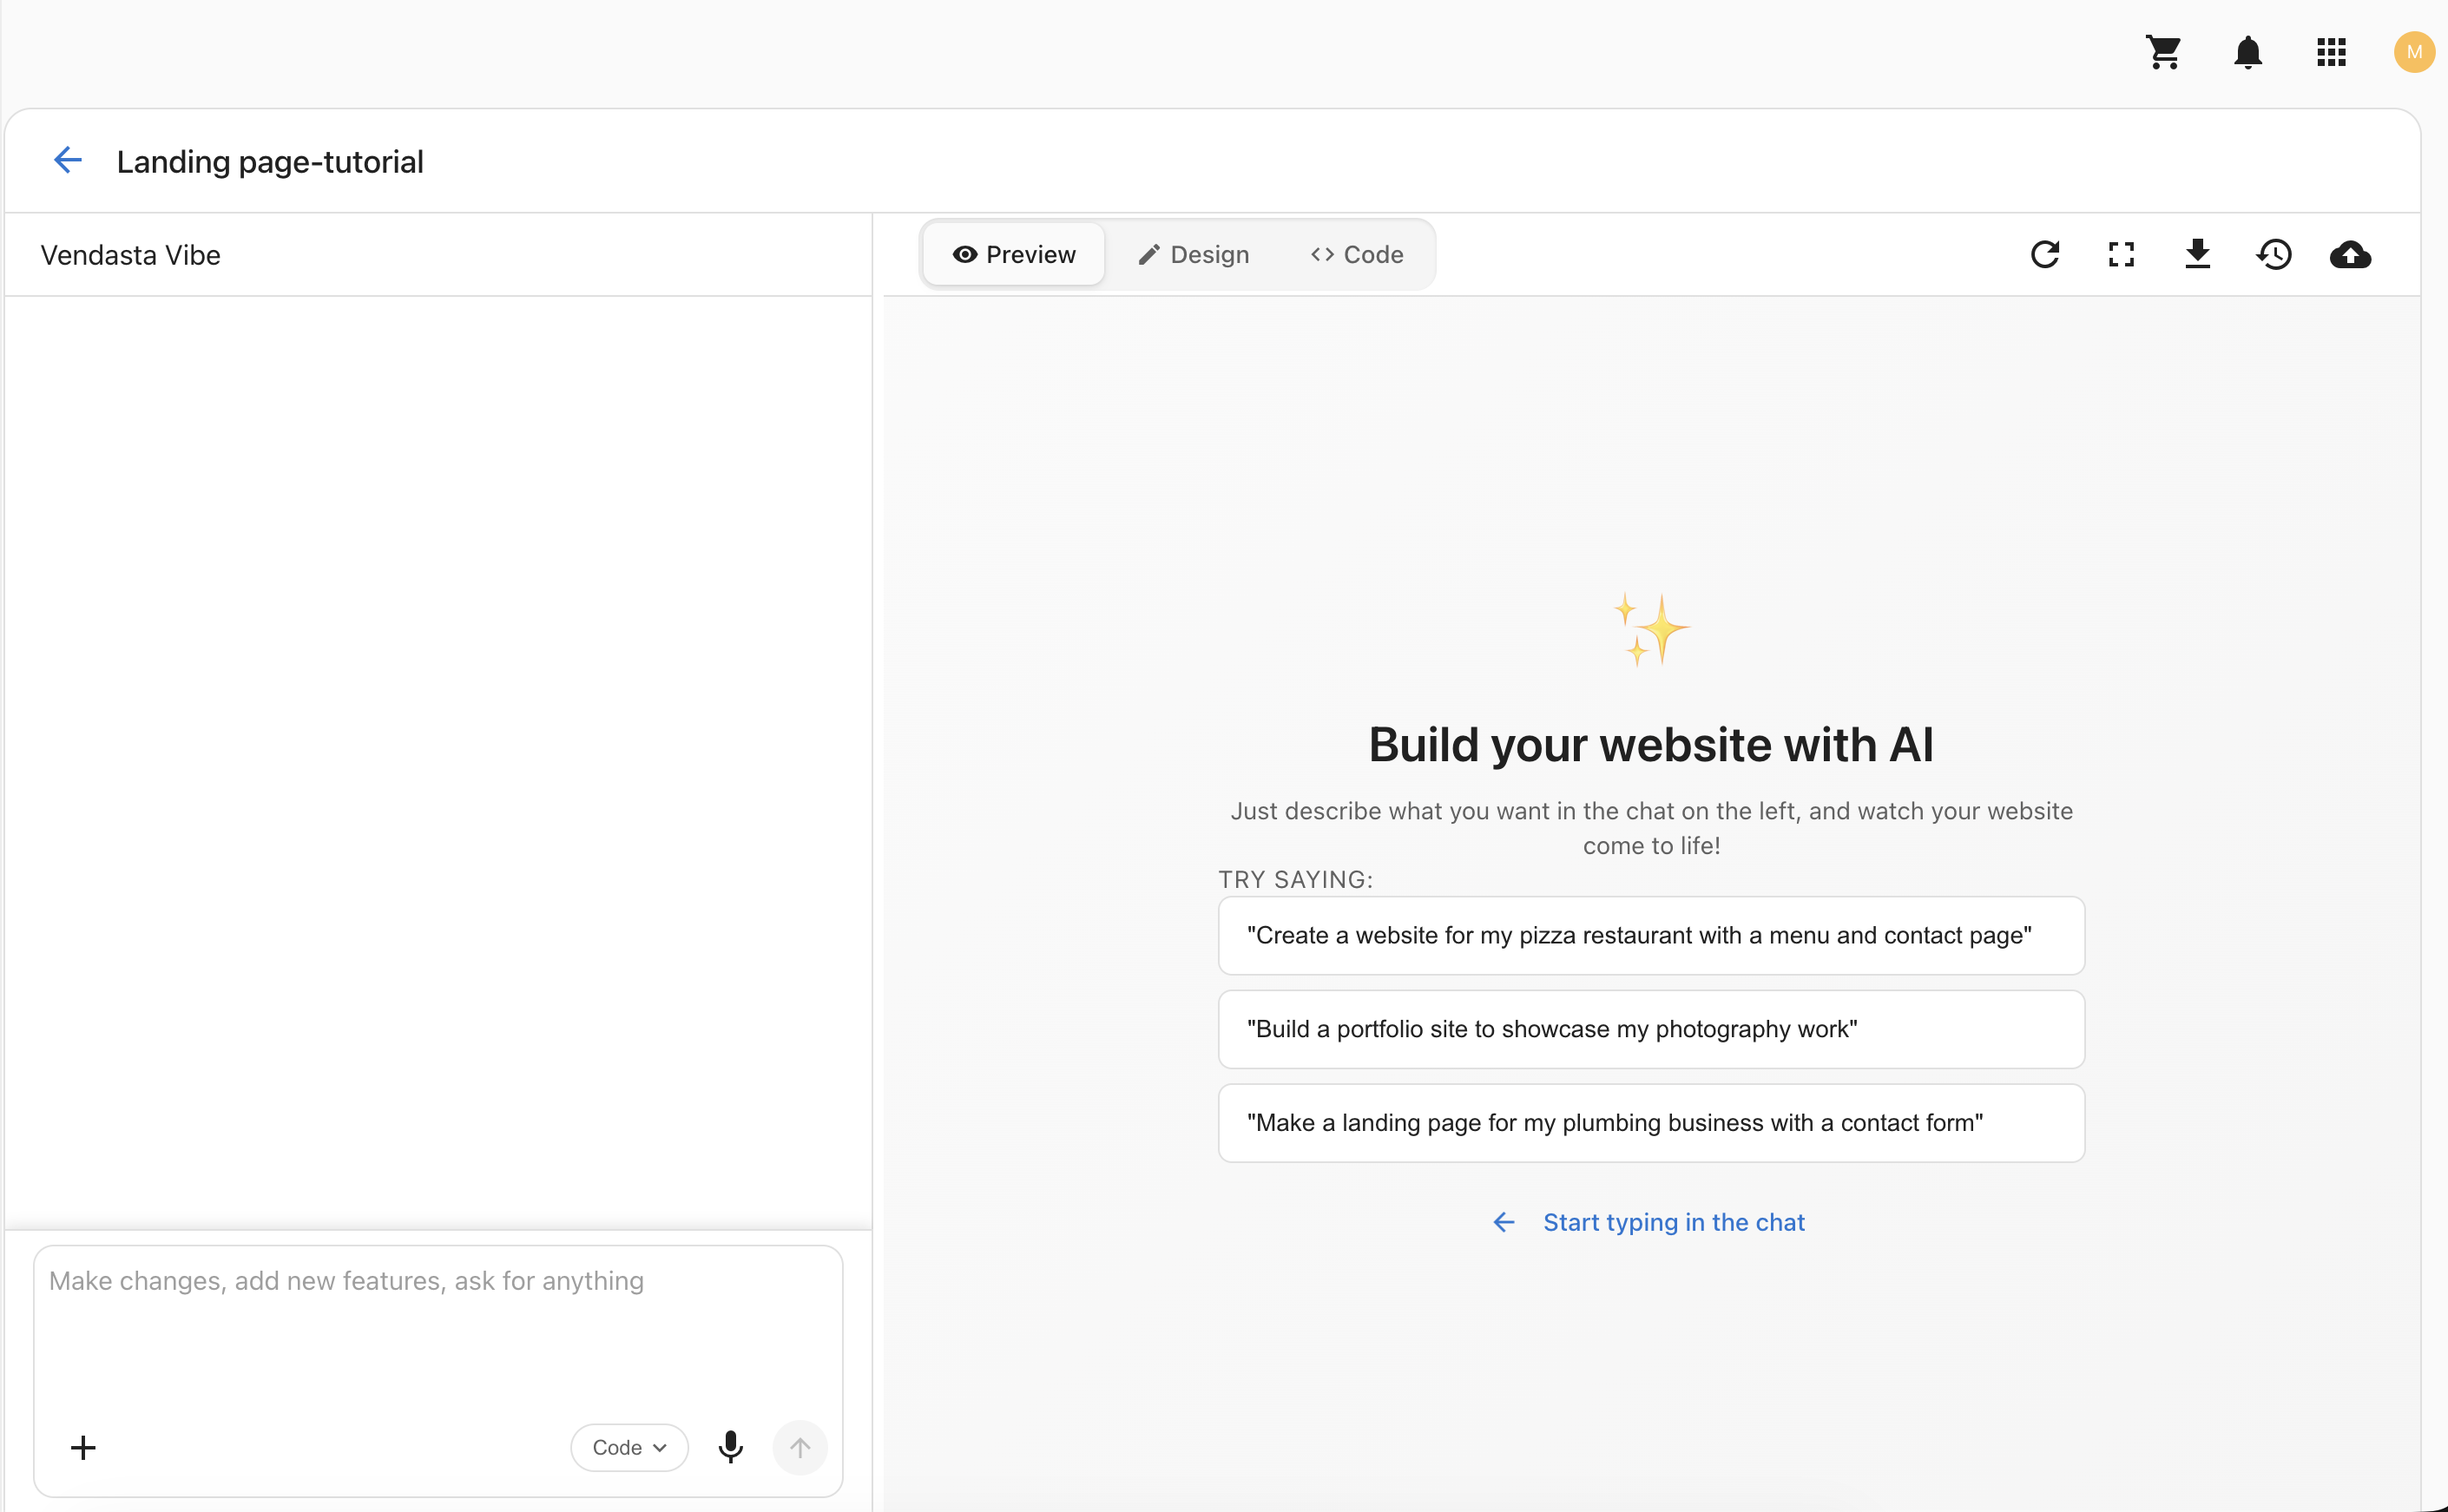
Every Vibe project starts from a blank editor. You land on a "Build your website with AI" splash with a chat panel on the left and example prompts you can borrow from.
Step 1: How do I enable the Forms connector?
Before you write your starting prompt, enable the Forms connector so Vibe can wire any contact form you build to the CRM. Without it, Vibe will still generate a form, but submissions will not flow to the CRM.
Open your project's settings and select Connectors — see project settings — then toggle Forms on.
For more on connectors, see Connectors.
Step 2: How do I write the starting prompt?
Start broad and let Vibe scaffold the full page in one pass. Follow the Prompting Guide principle of describing what you want, not how to build it. A good starting prompt names the business concept, identifies the key visuals, lists the sections you expect, and calls out any integrations you want. The starting prompt:
make a website for my pizza restaurant that is run by cats. show images of cats making pizzas please along with a menu, about us section, and a contact intake. Connect the contact intake to the CRM.
The prompt is short but specific: it names the business (pizza restaurant run by cats), calls out the hero visual (cats making pizzas), lists the sections (menu, about us, contact intake), and directs Vibe to wire the contact intake into the CRM.
Step 3: What happens when Vibe plans and generates?
After you send a starting prompt, Vibe generates a plan, executes it, and shows the files it creates in real time. Because the Forms connector is enabled, Vibe also calls into the Forms service to map your contact fields to the CRM. See Plan Mode for how to review and edit the plan before generation.
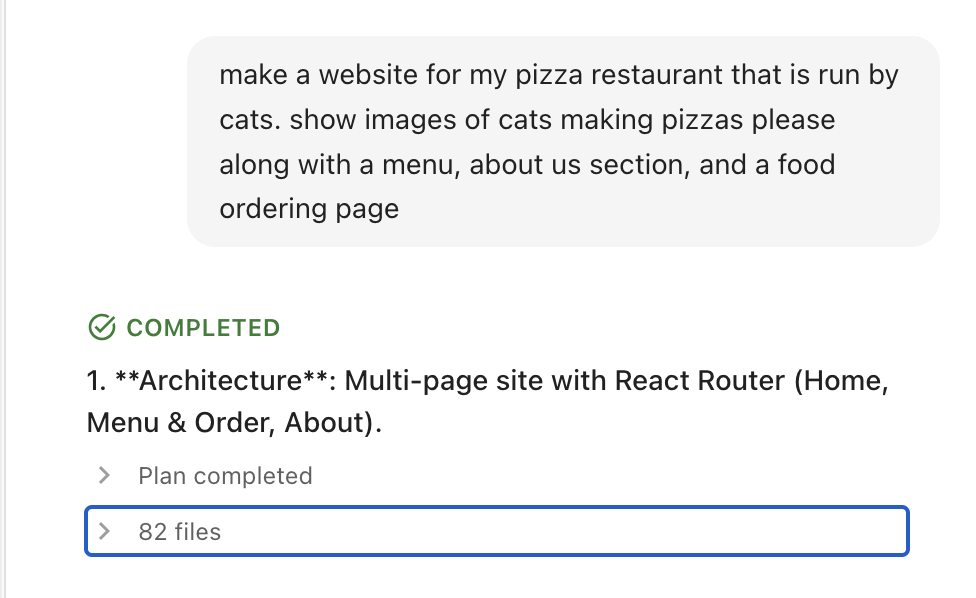
The prompt triggered a plan covering:
- A multi-page architecture with React Router for Home, Menu, and About pages
- Shared layout components: Navbar (Our Story, Menu, Book a Table), Footer, and a Layout wrapper
- Page-specific content: a hero with Reserve Your Table and View the Menu CTAs on Home, a pizza grid on Menu, and an origin story with staff cards on About
- A contact intake form mapping First Name, Last Name, Email, and Message directly to the CRM through the Forms connector
- Unsplash placeholder images of cats and pizzas to bring the concept to life
- A playful, warm visual direction using semantic color tokens
Step 4: What does the result look like?
From that single prompt, Vibe produced a full multi-page site with navigation, a menu grid, an about page with staff profiles, themed imagery, and a contact form wired into the CRM.
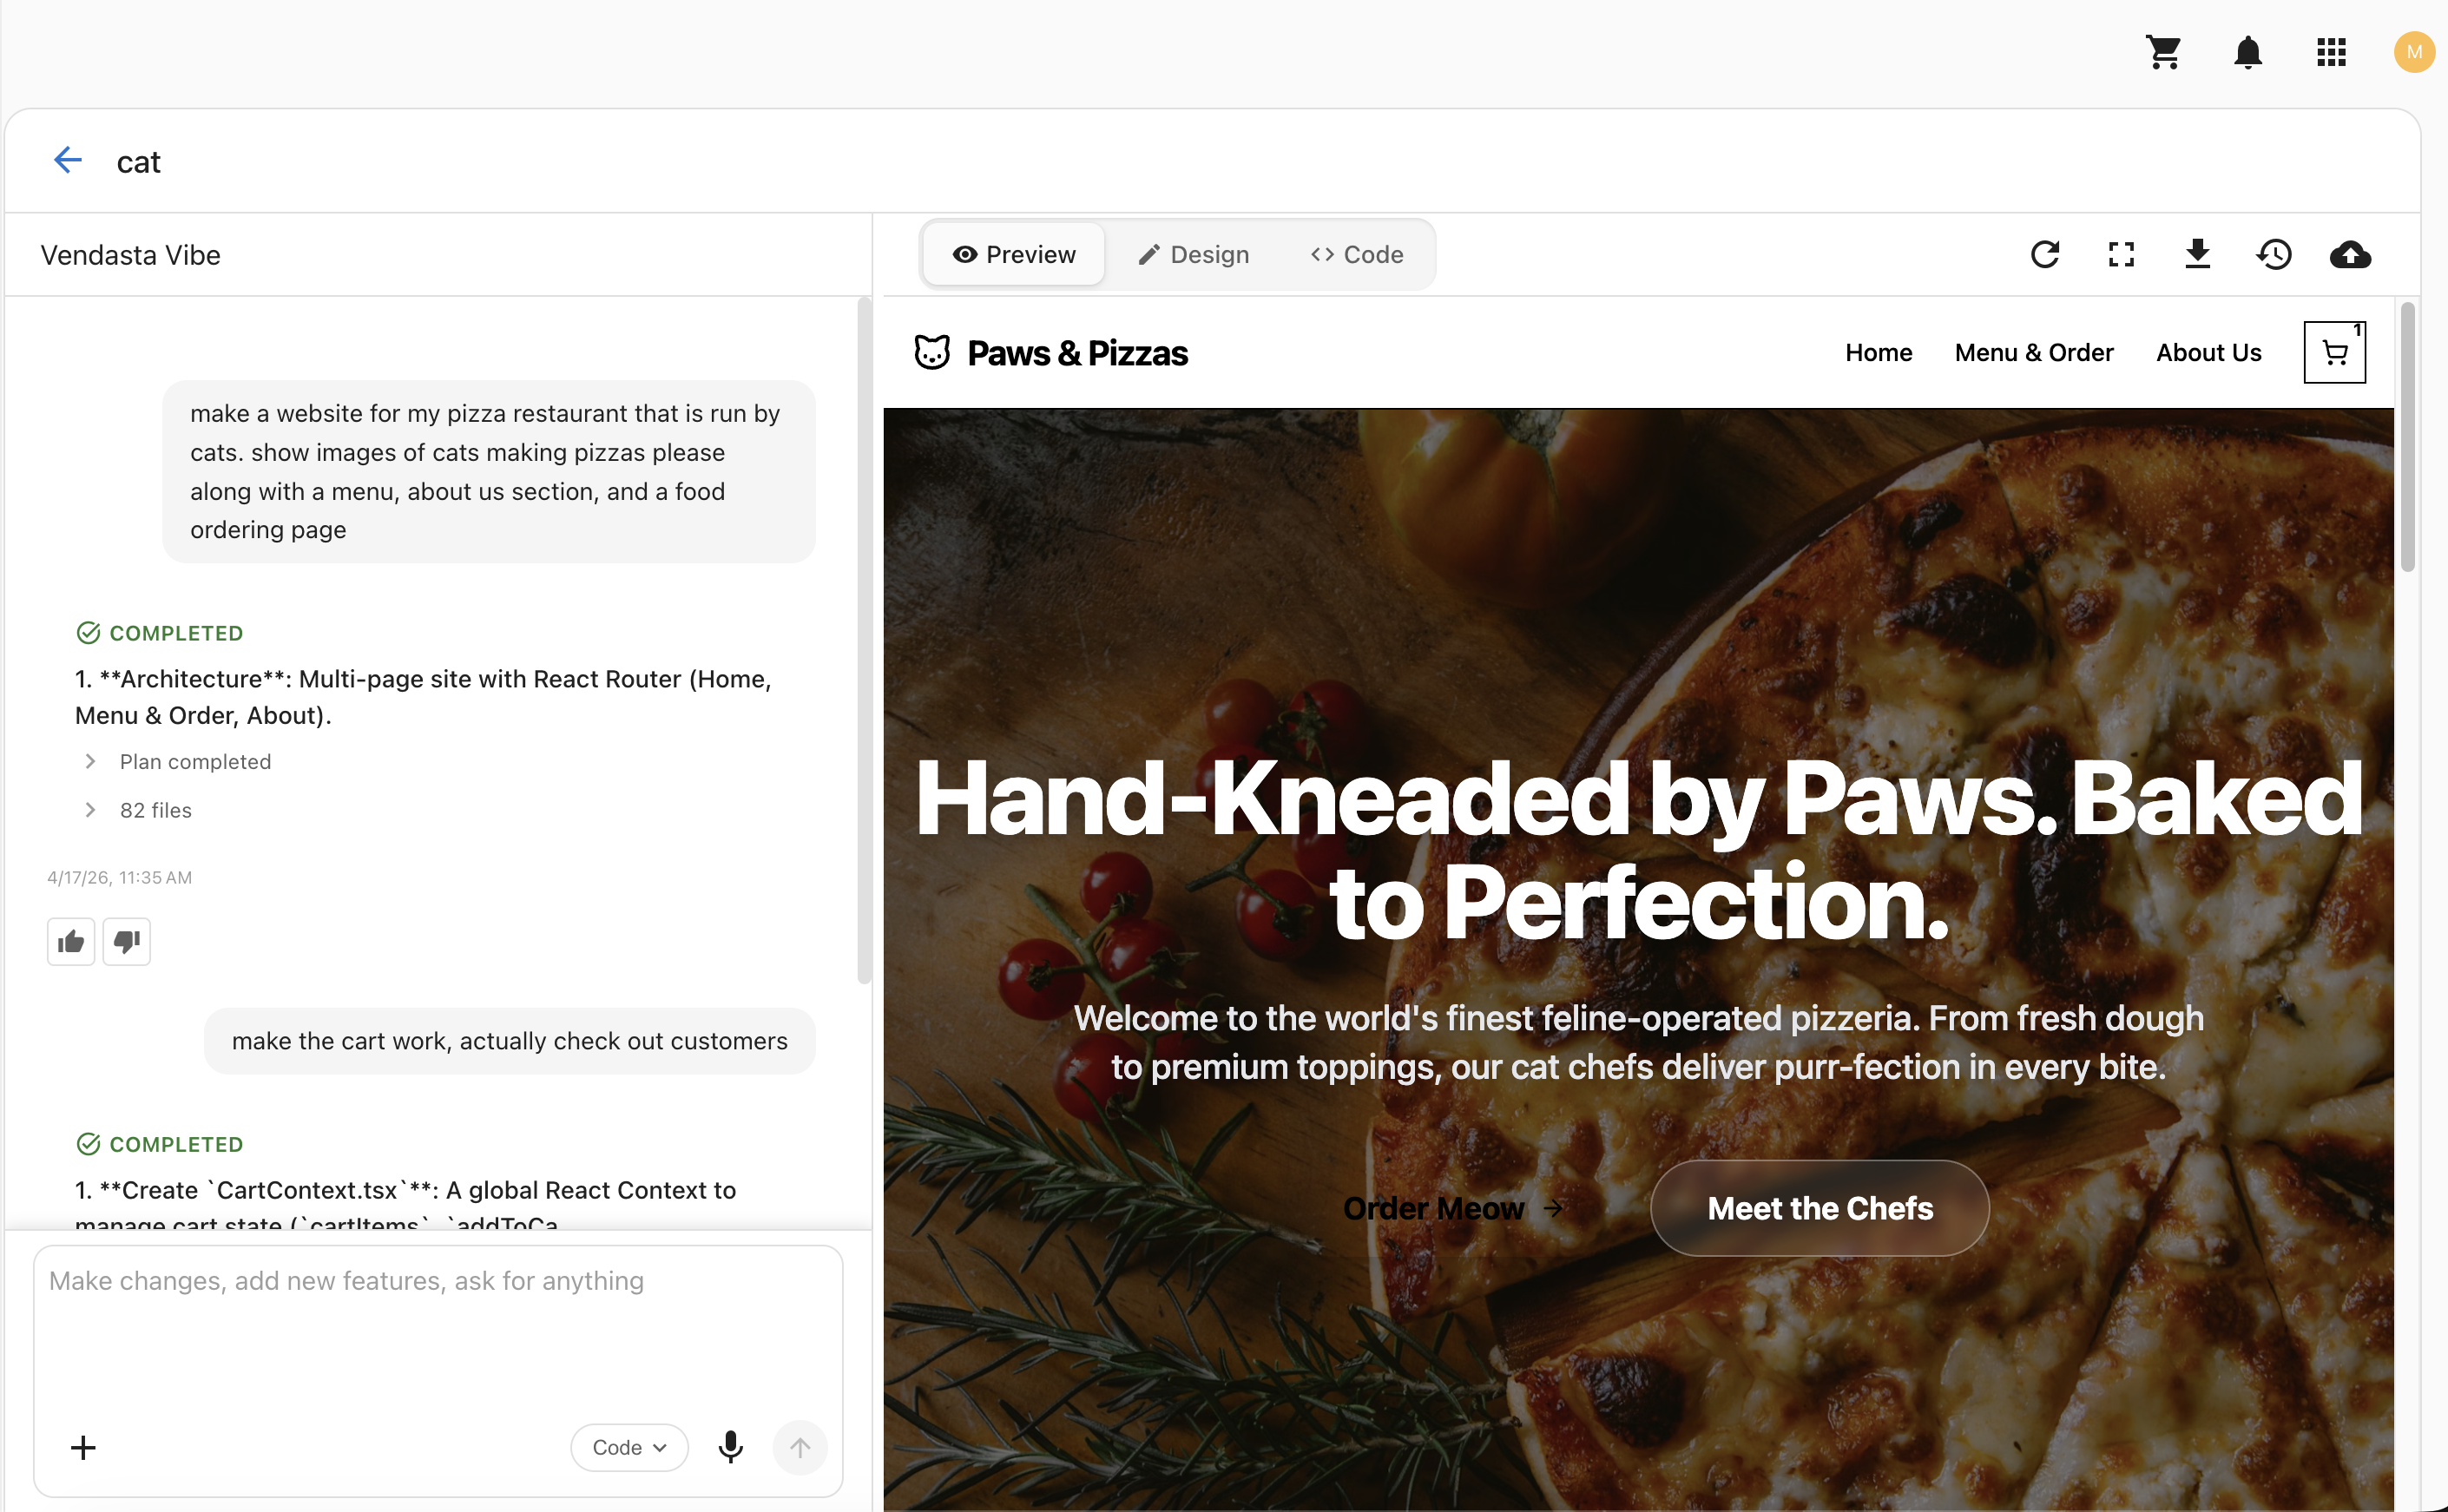
The contact page renders the form Vibe generated and connected to Forms.
Step 5: How do I view submissions in the CRM?
Because you enabled the Forms connector, Vibe registered a form in Forms when it built the contact intake. To find it, go to CRM > Forms, then click the form to view its submissions.
The most useful flow is automatic: contact information from every submission appears in CRM > Contacts, so leads land directly in the same place your team already manages customers.
Step 6: How do I use the Visual edits button?
Once the site is built, visual editing speeds up targeted refinements. Turn on the Visual edits button in the chat composer, then click any element in the live preview, such as a heading, a button, an image, or a card. Vibe highlights the selection with a blue outline and maps it back to the exact file and line in the source code.
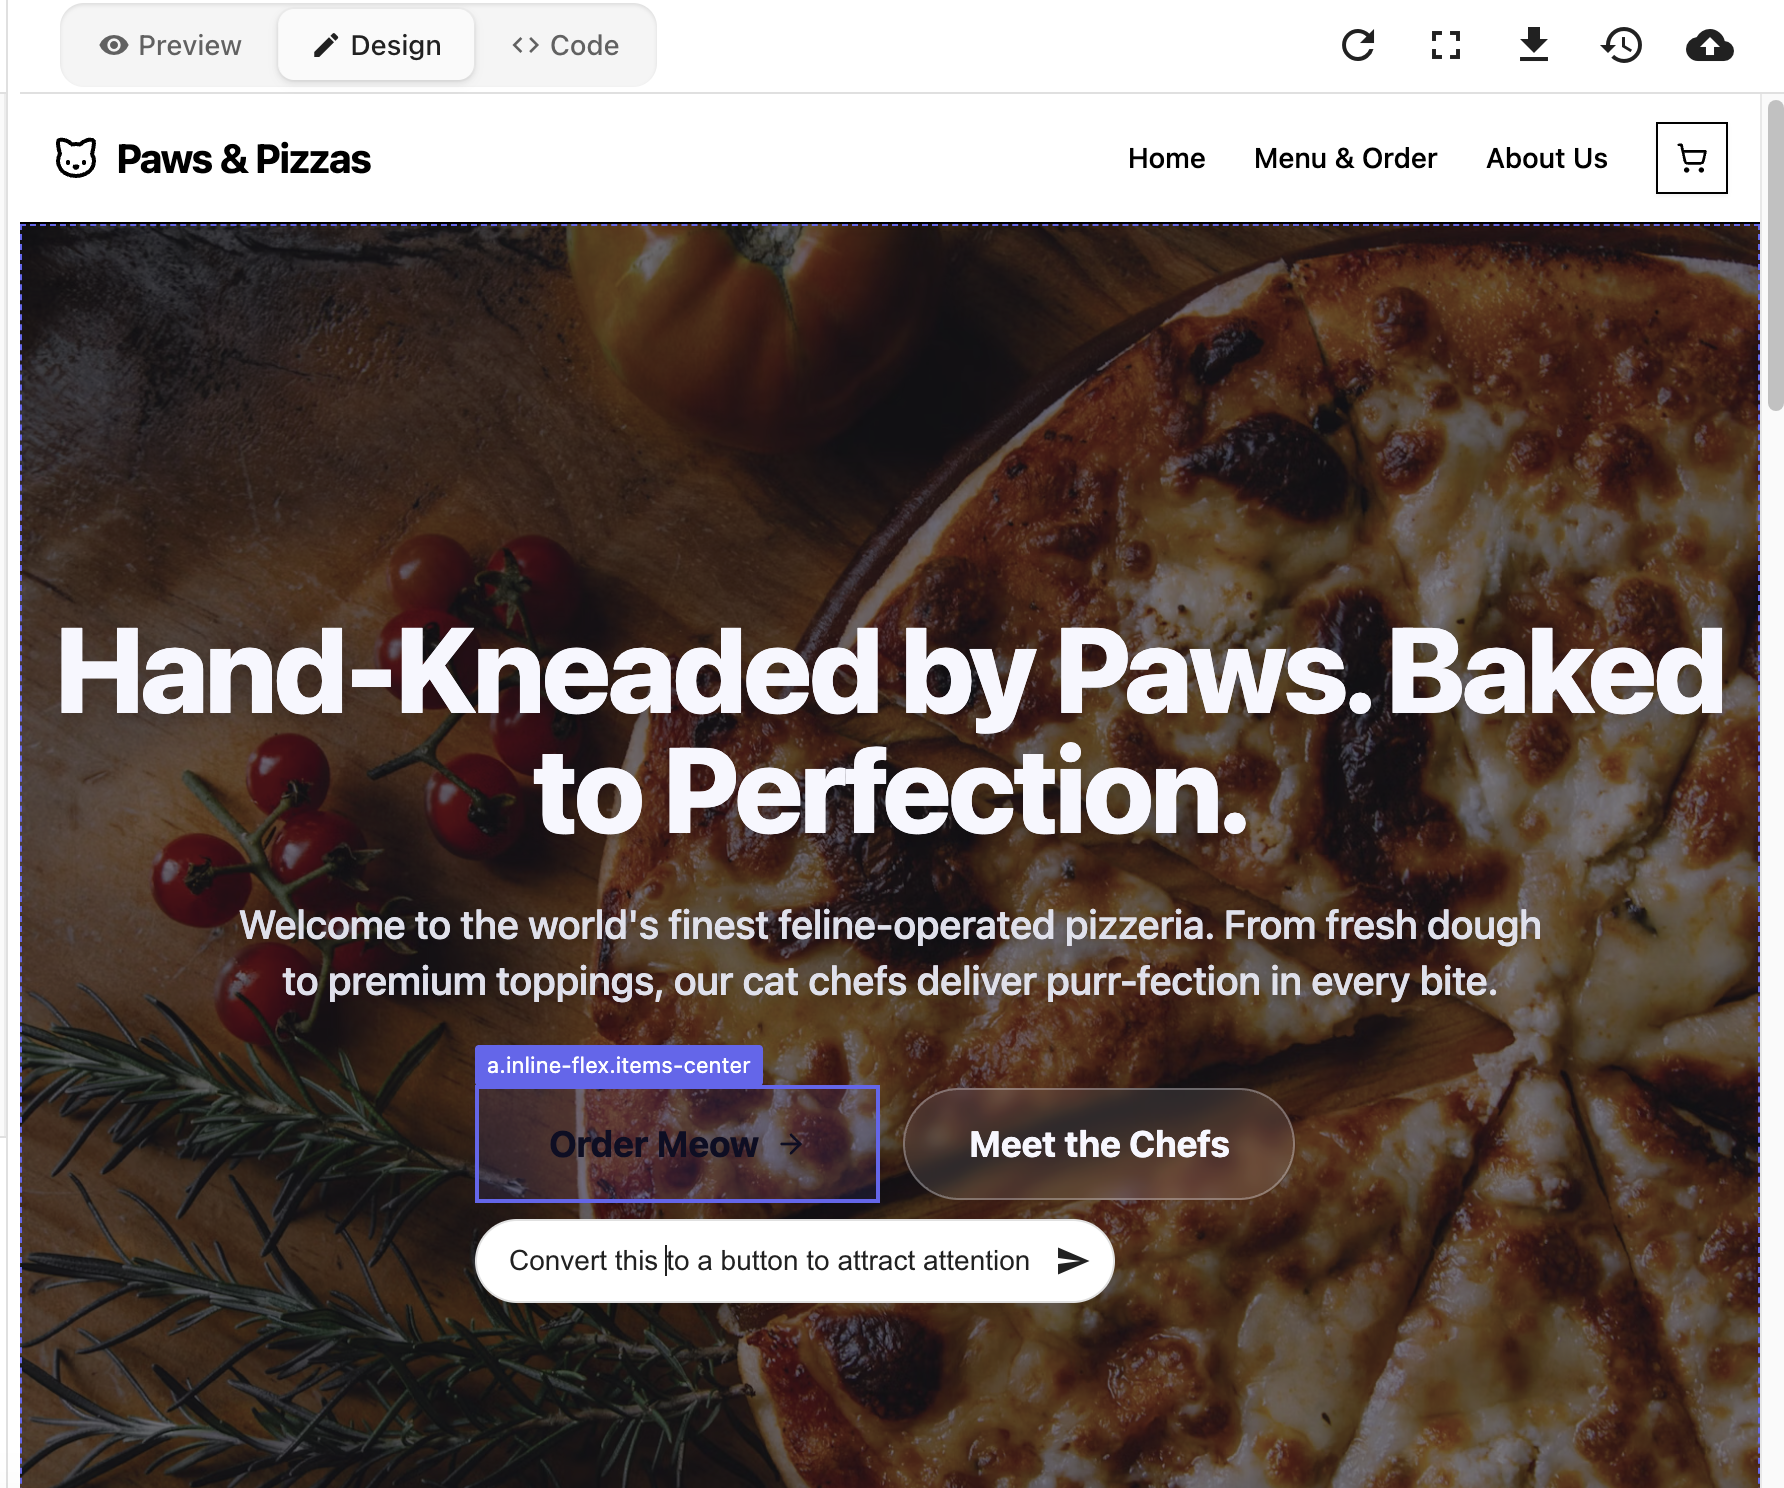
With an element selected, any prompt you write is scoped to that element automatically. Vibe already knows which heading or button you mean because it sends the file, line, and element details along with your request. That makes refinements feel closer to "point and say what you want" than writing instructions for an AI. Examples of prompts that work well with an element selected:
- "Make this heading smaller and adjust the padding"
- "Change this button to a warmer orange and add a subtle shadow"
- "Add a hover animation to this card"
After a targeted edit on the selected heading, the hero reflects the change exactly where you pointed:

For the full reference on visual editing and in-panel style controls, see Visual Editor.
Iteration path from here
This example shows how much a single well-formed prompt can produce. To polish or extend a similar site, use focused follow-up prompts rather than broad rewrites. Common next steps for a landing page:
- Replace placeholder images with AI-generated ones, for example: "Regenerate the hero image with a 16:9 aspect ratio and warmer lighting." See Image Generation.
- Tune the contact form: "Add a phone number field to the contact form" or "Show a thank-you message after submission."
- Add targeted sections through prompts: "Add a testimonials section before the footer with three customer quotes."
- Use the Visual Editor for small adjustments such as padding, font size, or icon swaps.
When to pick this use case
Choose Vibe for a landing page when you need:
- A one-page or small multi-page marketing site for a business, product, or campaign
- Lead capture through a contact form that feeds the CRM
- A polished visual result without spending time in a traditional website builder
- A page you can iterate on in minutes rather than hours
Skip this pattern if you need heavy e-commerce, a CMS with editorial workflows, or marketing automation beyond a form submission.
Frequently asked questions
How do I send landing page form submissions to my CRM?
Turn on the Forms connector in your project's settings under Connectors before you write your starting prompt, and ask Vibe to connect the contact form to the CRM. Vibe registers the form in Forms, and contact information from every submission appears in CRM > Contacts.
Why aren't my Vibe form submissions showing up in the CRM?
Without the Forms connector turned on, Vibe still generates a form, but submissions don't flow to the CRM. Turn on Forms under Connectors in your project's settings, then check CRM > Forms for the form and its submissions.
Where do I see submissions from my landing page form?
Go to CRM > Forms and click the form to view its submissions. Contact information from each submission also appears in CRM > Contacts.
How do I turn on visual edits?
Turn on the Visual edits button in the chat composer, then click any element in the live preview. Any prompt you write is then scoped to the element you selected.
When is a Vibe landing page not the right fit?
Skip this pattern if you need heavy e-commerce, a CMS with editorial workflows, or marketing automation beyond a form submission.
Related
Pair this example with these guides as you build:
- Getting Started with Vibe: create your first project and learn the editor
- Prompting Guide: write prompts that produce strong first results
- Plan Mode: review and approve Vibe's implementation plan before code is generated
- Visual Editor: element-level edits
- Connectors: Forms connector setup
- Image Generation: generating and replacing images
- Troubleshooting: recover from errors and stuck generations